Bricks and Hammers

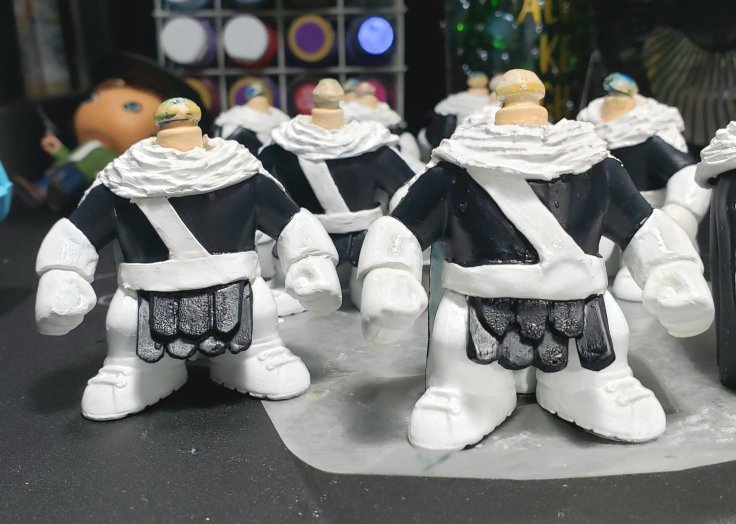
The past few weeks, I’ve been struggling with a bit of a block. I couldn’t get the King!Jensens to where I wanted them to be and it affected EVERYTHING! I realized it wasn’t really the Jensen’s it was me. The block was with my creative side and not with the Jensens. Until I realized that, I kept changing the Jensens thinking that was the issue. I went from this.
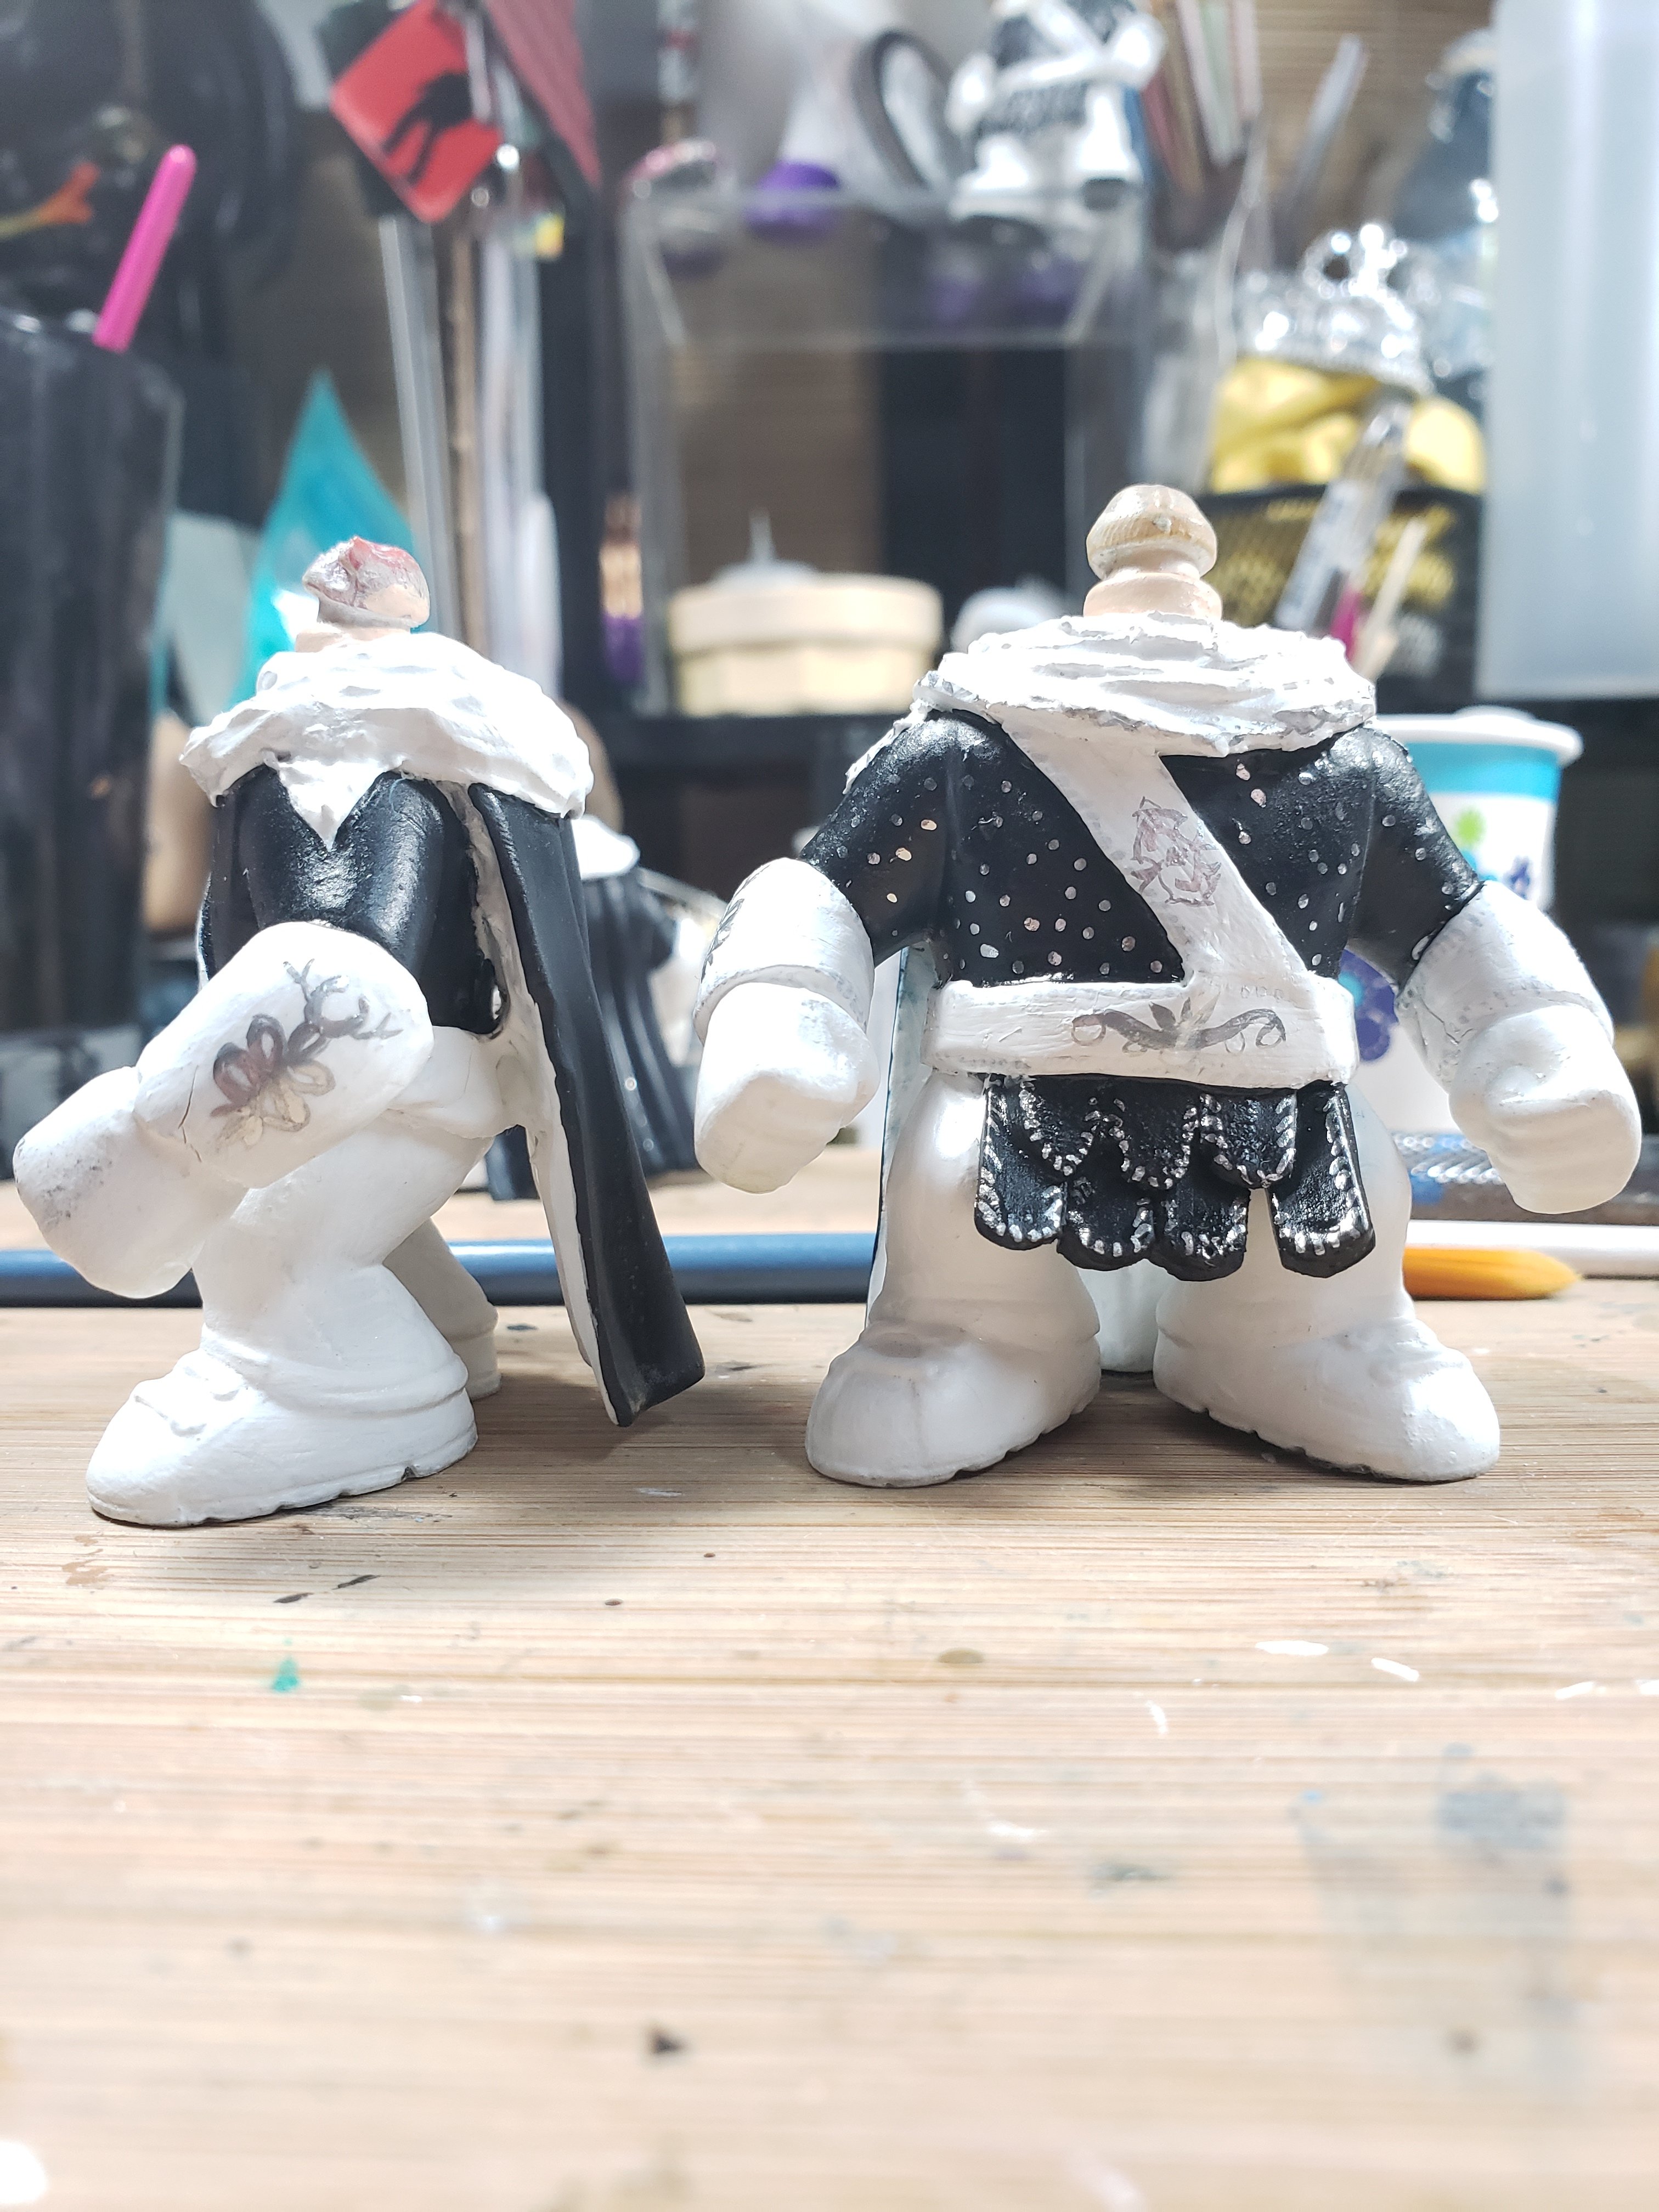
Original design

To this..

Trying to add “texture”

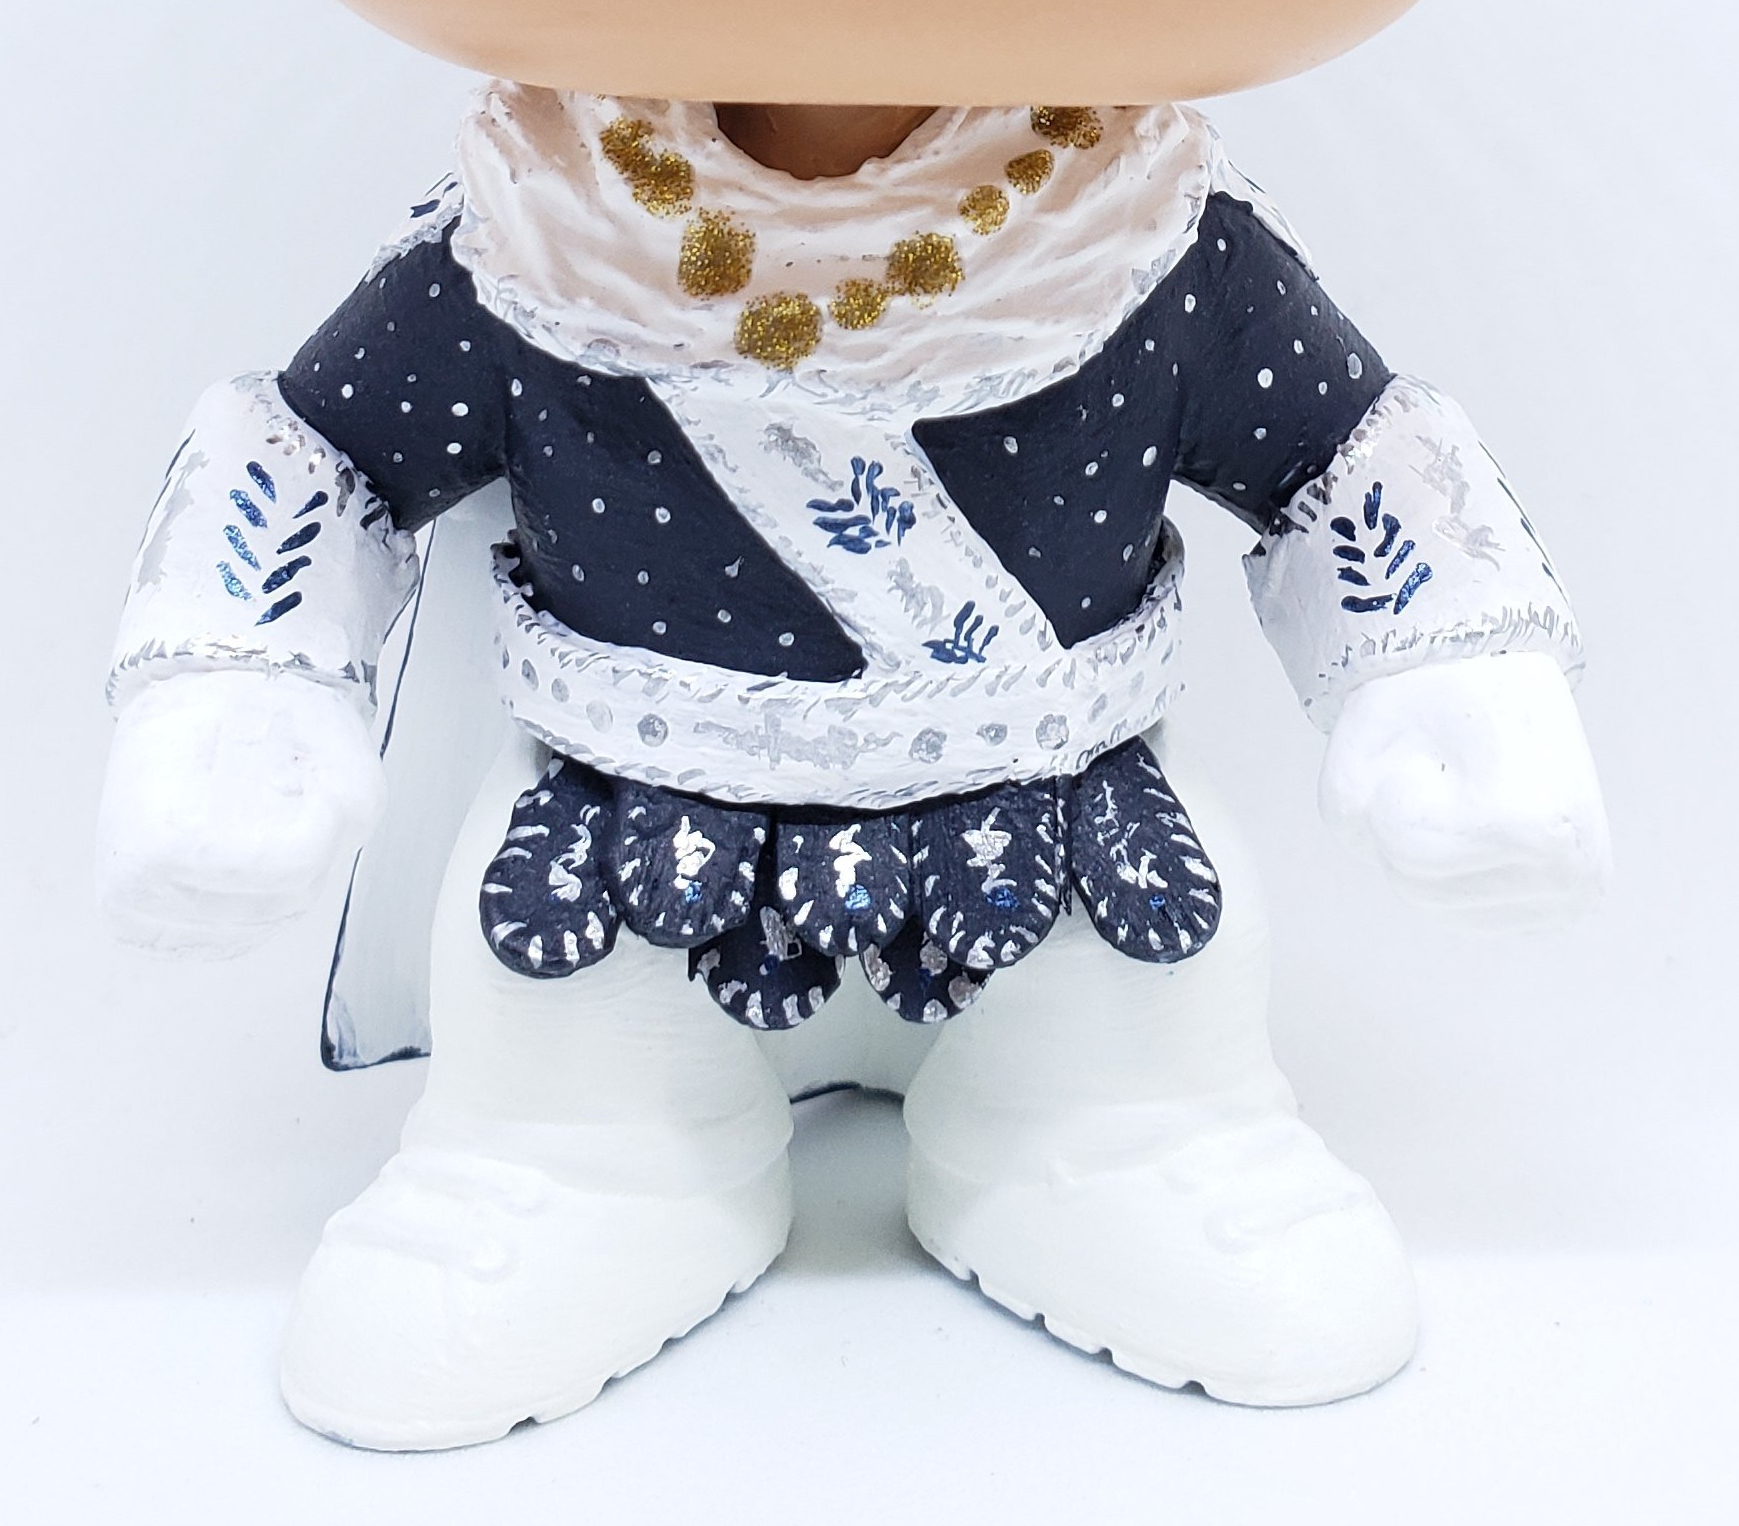
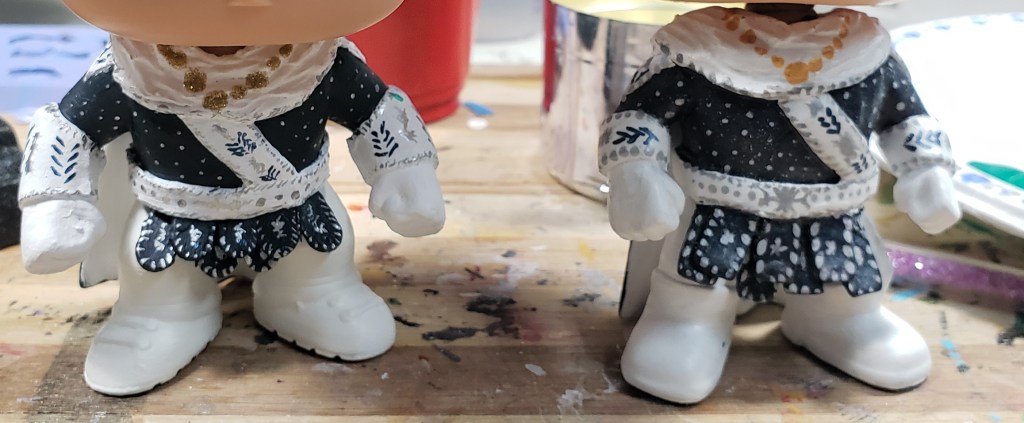
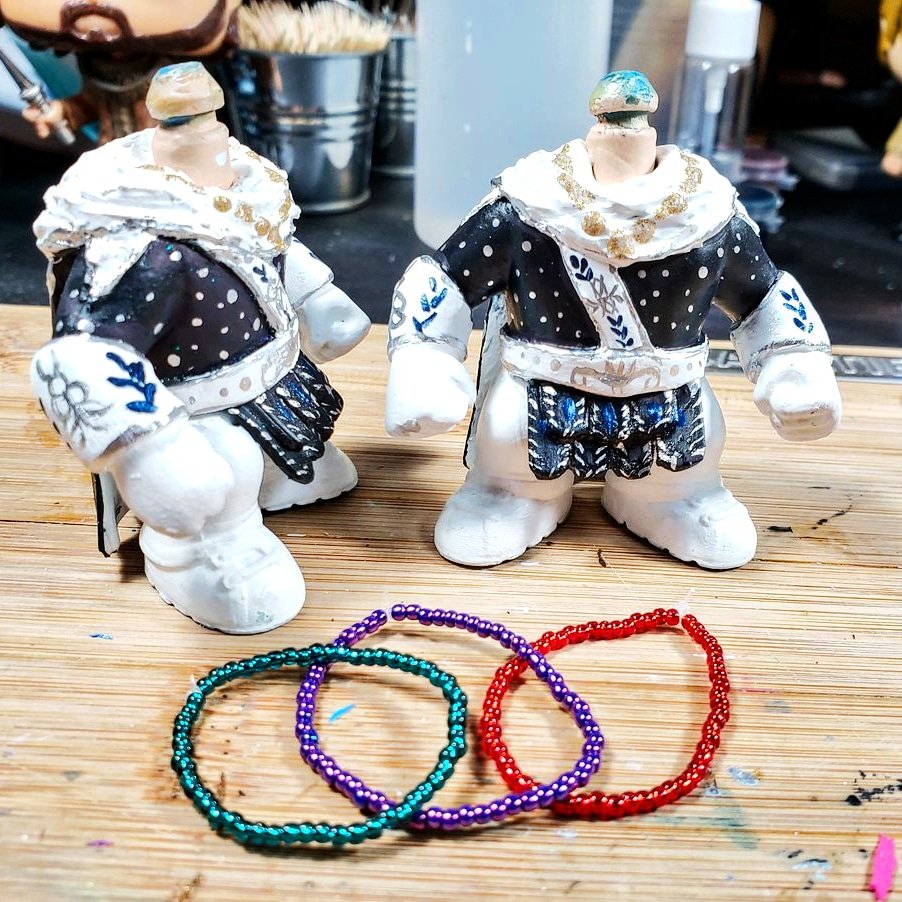
And finally I realized that the issue was me so I went back to the original design that I loved. Once I did that, I was able to get so much done simply because the creative juices were now flowing. Part of the issue, I realized, is that I was micro judging. By that, I mean judging the entire pop based on this incredibly small view of one particular area. When I do that, and forget to see the bigger picture (or in this case, the entire design that works together) I tend to focus on tiny things that aren’t “perfect” and it colours the entire project. When I step back and take the entire thing as a whole, and remember that being handmade means that there WILL be imperfections and that is part of what makes them good, I can progress and remember the joy from the art, instead of the need for perfection.

The original design that worked, once I realized they weren’t the problem

How do I stop it from happening? Got me! My hope is that I get better about recognizing when it’s happening so I can catch it sooner sooner and change my view. Finding the different things that have helped, and adding them to my artistic toolbox helps too. Things like

-making a new prototype

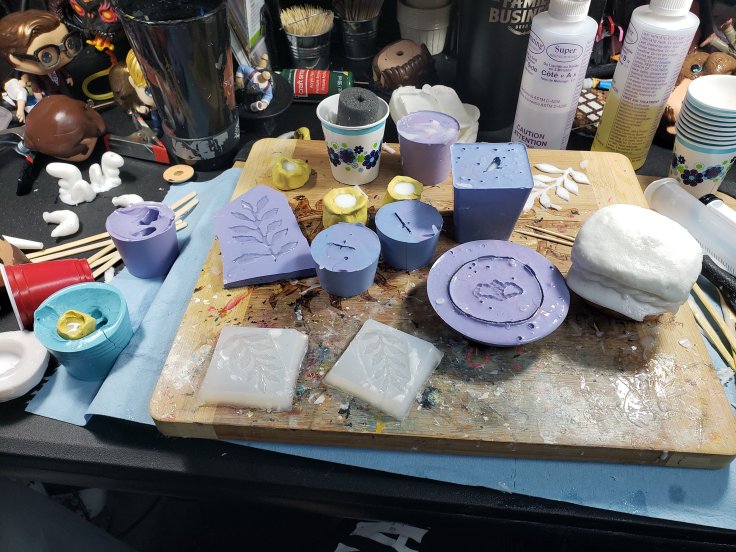
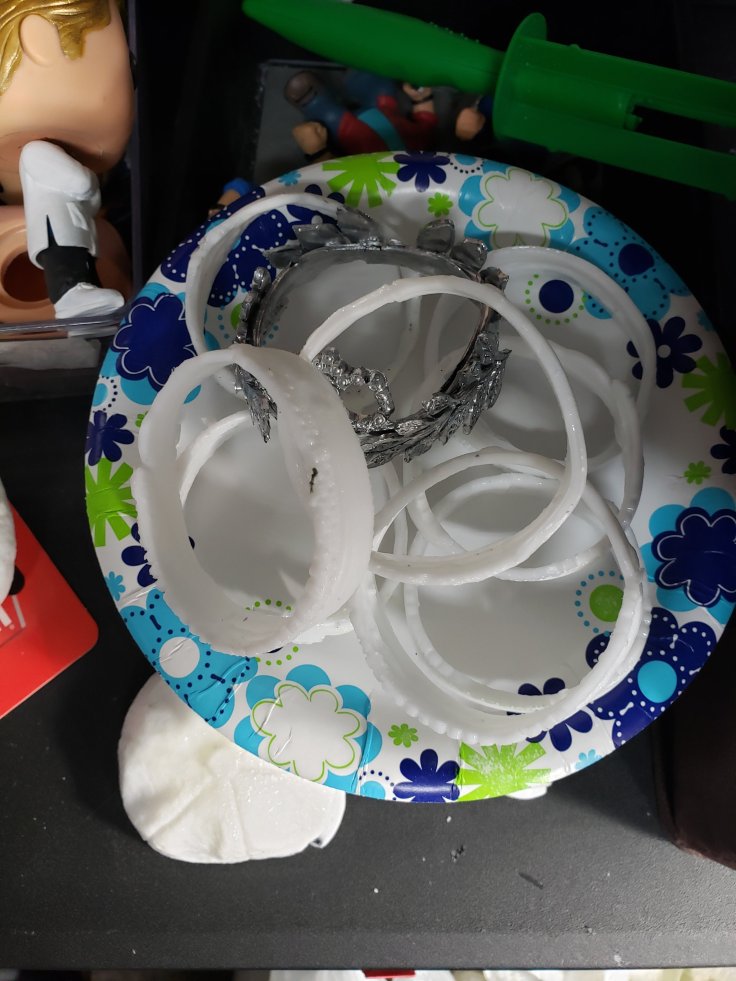
-changing up what I’m working on. From Pops to Vinyl to Wood to Jewelry

-taking a project that has been stumping me and just doing it. Getting that off my to do list helps.

-organizing my work-space or cleaning my area

Each time I go through this I am a little more empowered and a little more comfortable with my art. I deal with Impostor Syndrome in a lot of areas of my life. The thoughts that I don’t really deserve any recognition and that people are just humouring me come through when I get a block. Every time I pull myself through it gives me that much more solid of a footing in my own creativity.

We all have doubts. Every. One. Of. Us. Never forget that. Remembering that can help push you through when those scary voices raise their head.

The Making of a King

This year, Jensen was the King Bacchus at Mardi Gras with an outfit that screamed to be popped! I made one for me, but the process ended up being to time consuming and not practical for sales, so back to the drawing board!

For his crown, I figured casting would be the best bet. I sculpted the leaves from Sculpy, cured them and cast them in 2 different mediums, a clear silicon and Oomoo. I also made a mini crown from a dollar store Disney crown (do NOT tell the babies!) I cast that as well. The base of the crown was the base of the dollar store Disney crown, heated and molded to the shape of Dean’s head. When casting the resin, I found a syringe was best to direct the resin into the small areas without overflowing. Less overflow means less cleanup and sanding required.

Moulds. The clear are silicon and the blue/purple are Smooth on. here are leaves, crown, apron and cape (With bonus Benny hat)
The bases of the crown

His outfit had some elements that would be iffy to sculpt, and would work better with some flexibility. His apron and his cape would be cast as well. More trial and error, and I cast his apron out of coffee stir sticks stuck together, and his cape out of on from the Ego pop.

Capes, aprons, crowns and leaves curing

I used Winchester bodies for King!Jensen. Taking them apart made everything more accessible. I was able to sand down the area where the apron went to accommodate the thickness, and to sand down the back a bit to hold the cape. The entire thing was base coated white for the legs, and dark blue for the body.

Sculpting is next. there are 3 areas of sculpy here. The scarf, the sashes and the gauntlet cuffs. I found the scarf was great to tie everything together and show the cape as a seamless unit. A curved tool pressed in repeatedly made the drape folds come alive. The sashes are quite thin, and trimmed to clean edges. The gauntlet cuffs fill in the area between his shirt cuff and his wrist. After smoothing with rubbing alcohol, the areas are heat cured, sanded and base coated white.

Painting is next. Coats of dark blue for the tunic and outside of the cape, white for everywhere else. Surprisingly, the white is the hardest! Something always bleeds through. I have 5 or 6 coats on most of them!

Artist tip!!! DO A COAT OF SEALANT BETWEEN THE BASE COAT AND DETAILING. Ahem… I really want to stress this. Nothing worse than having to repaint the whole thing because your brush slipped. The chrome paint doesn’t wash off easily, but the base coat gives you a smoother surface to wipe.

Detail paint is incredibly labour intensive. Magnifying glasses and tiny, tiny brushes are a must. I do the chrome paint first, dots on the tunic, embellishments on the gauntlet cuffs, sash and scarf. Next is metallic blue for the leaves on the cuffs and sash. Finally the stylized B and grapes for the back of the cape, also in metallic paints of green and purple. Once everything is dry, another 2 coats of sealant.

Two different styles of details

Now to finish the crown. when the resin is cured enough to hold it’s shape, but still malleable, I shape it and glue it. two full leaves, one on each side, and some individual leaves to fill out the back. Once dry, it gets 2 coats of chrome spray paint and some time to dry. The jewels are the shining finish. Each one is a bit different, depending on where things are glued. It’s important to choose the right glue as a lot of glues will bubble the backing of the rhinestone. I find weld bond works best for me.

Lastly is putting it all together! Heating the crown a bit to fit it better to the head, then gluing it on, and King!Jensen goes in the drying box for a day.

Long process, but I love how he turns out! Let me know what you think!

A WordPress.com Website.

Up ↑