
I will never say there is a “right” way to do something (except for safety). Today I will show you my workbench set up. It’s right for ME, but you’ll find your own best set up. We’ll cover tools and layout today, Next post will cover accessories and supplies.
Layout
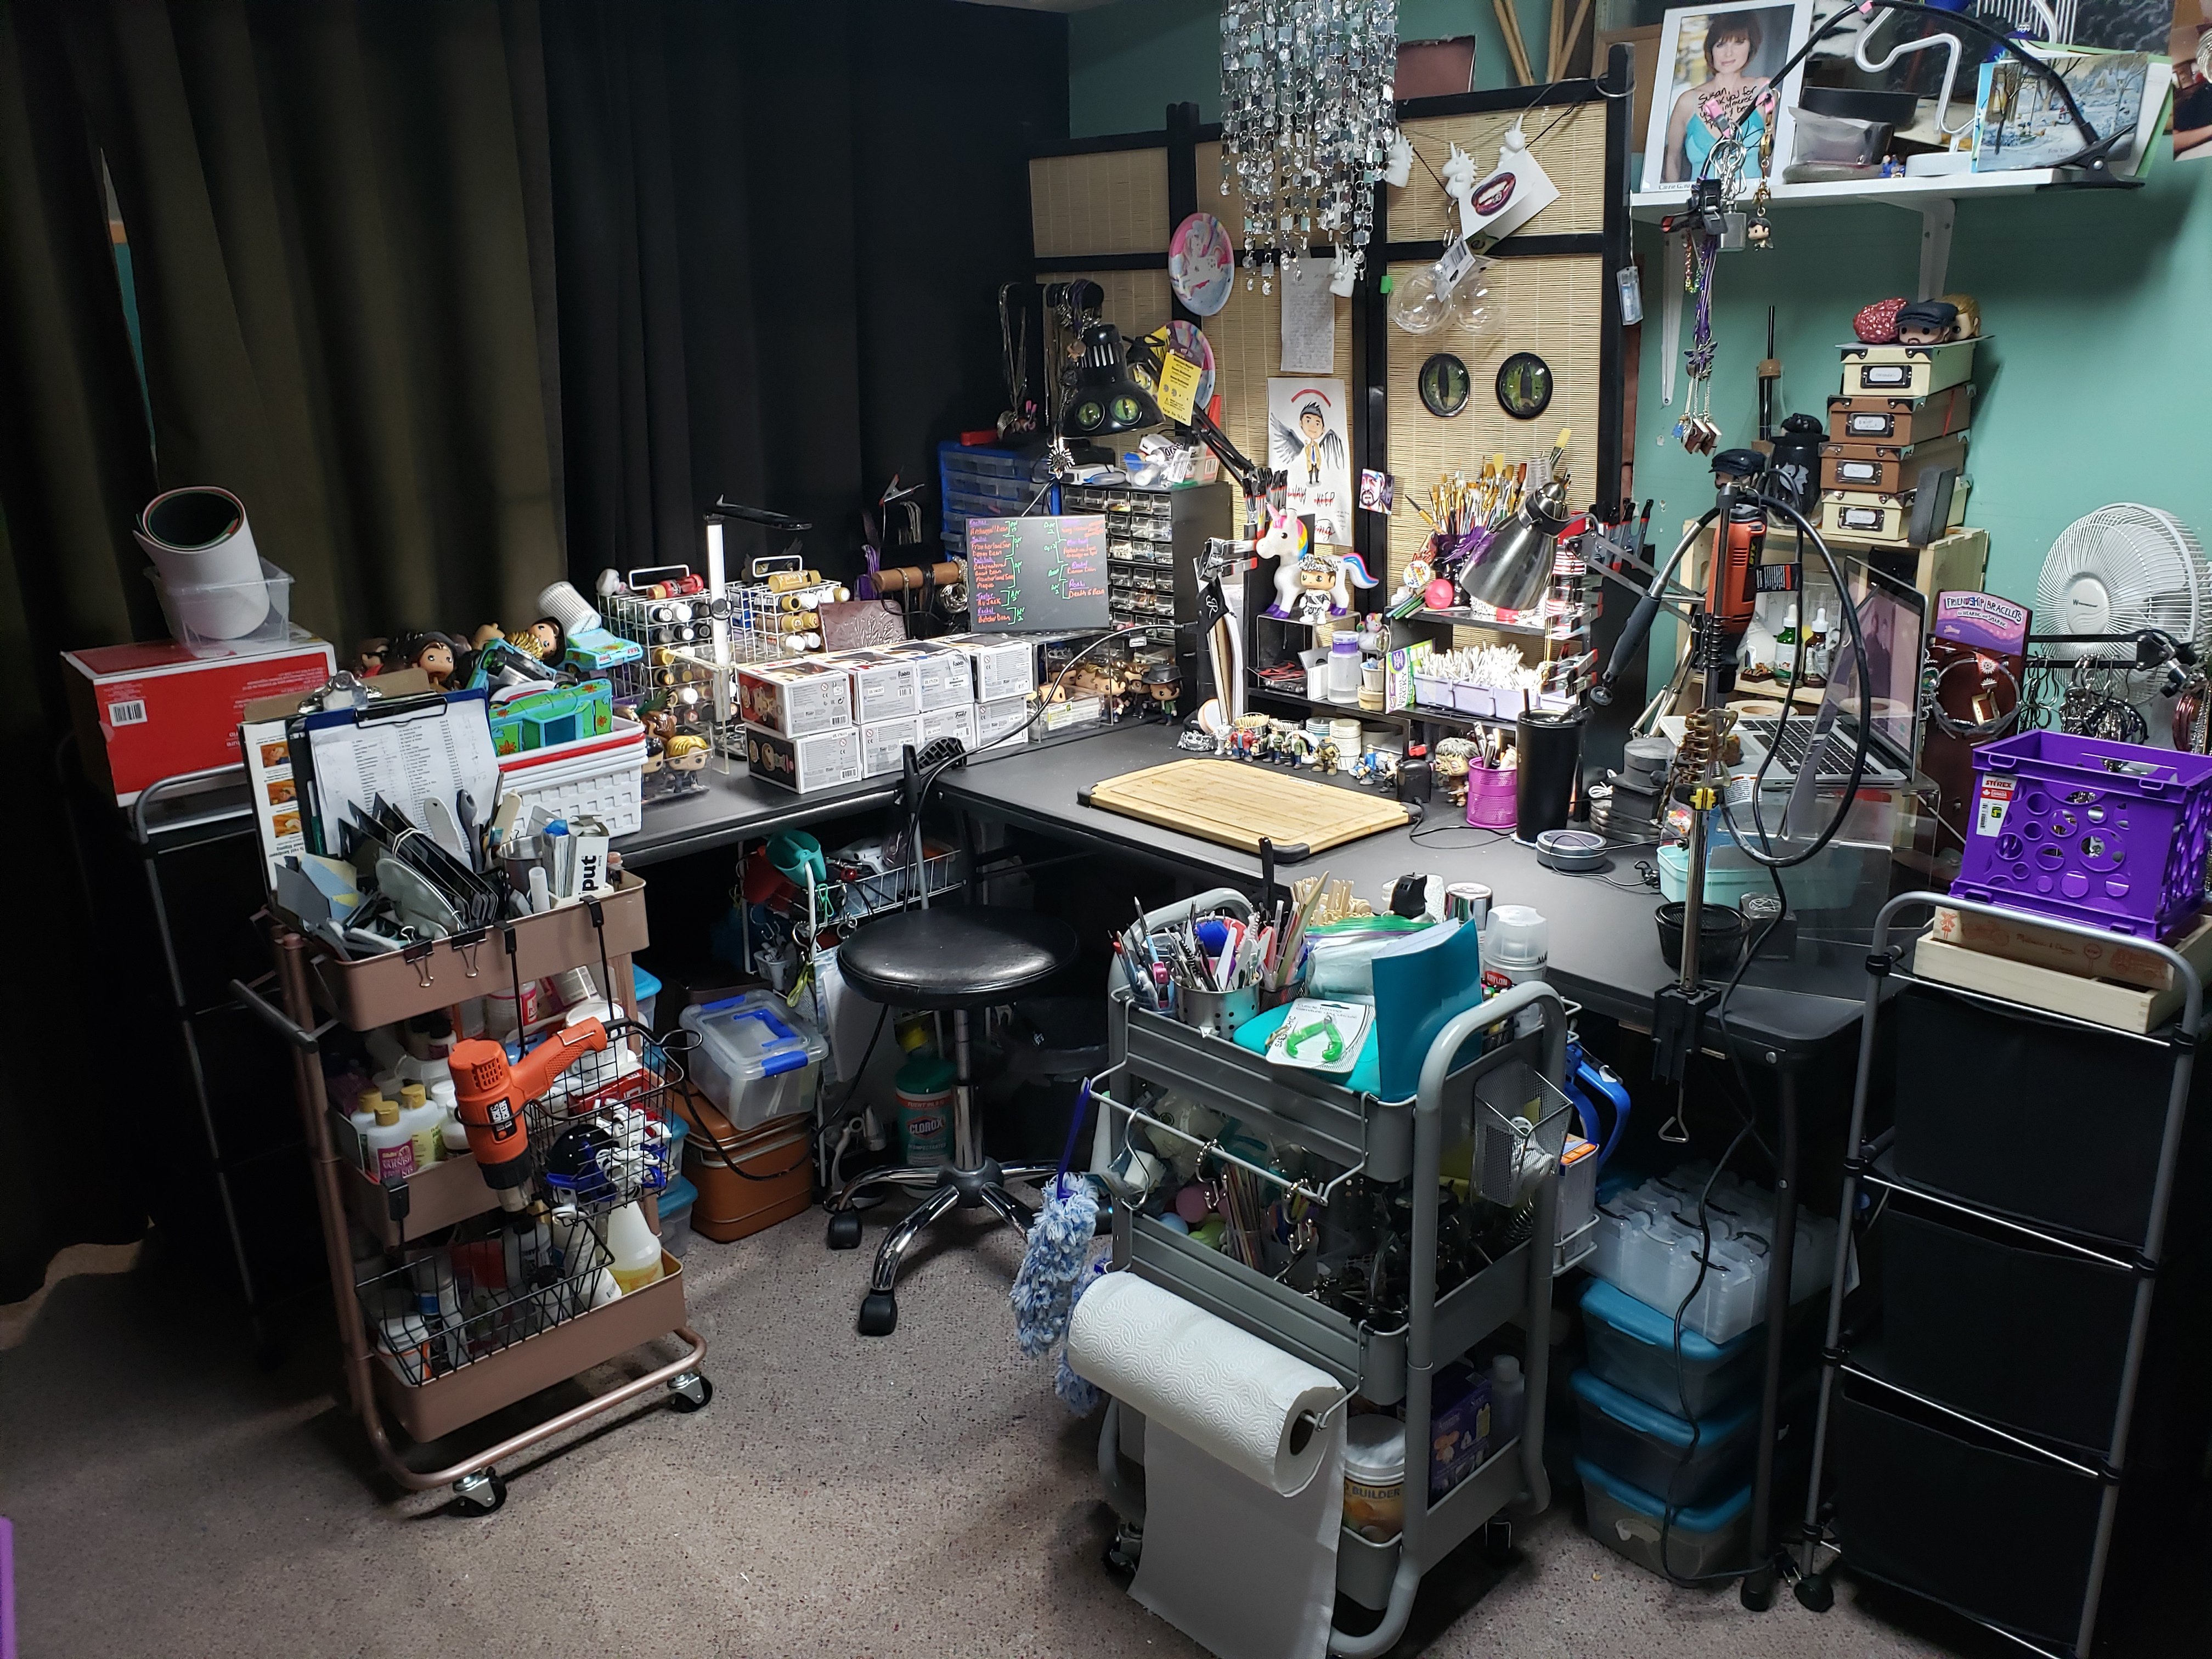
I’ll start with the basic layout. I use an L shape comprised of two plastic tables. I also have a wooden tray table that is supposed to be put away at some point, but .. meh. The wooden table holds my Windows laptop, so it’s used for references and entertainment. Directly in front of where I sit is the cutting board that I work on 90% of the time in an effort to reduce the damage to the table. It’s easier to replace a cutting board. In front of that is the shelving that holds disposable supplies, brushes, acetone and such. Most importantly is my mascot, King Jensen, unicorn and Bacchus coin. Above are things that make me smile.
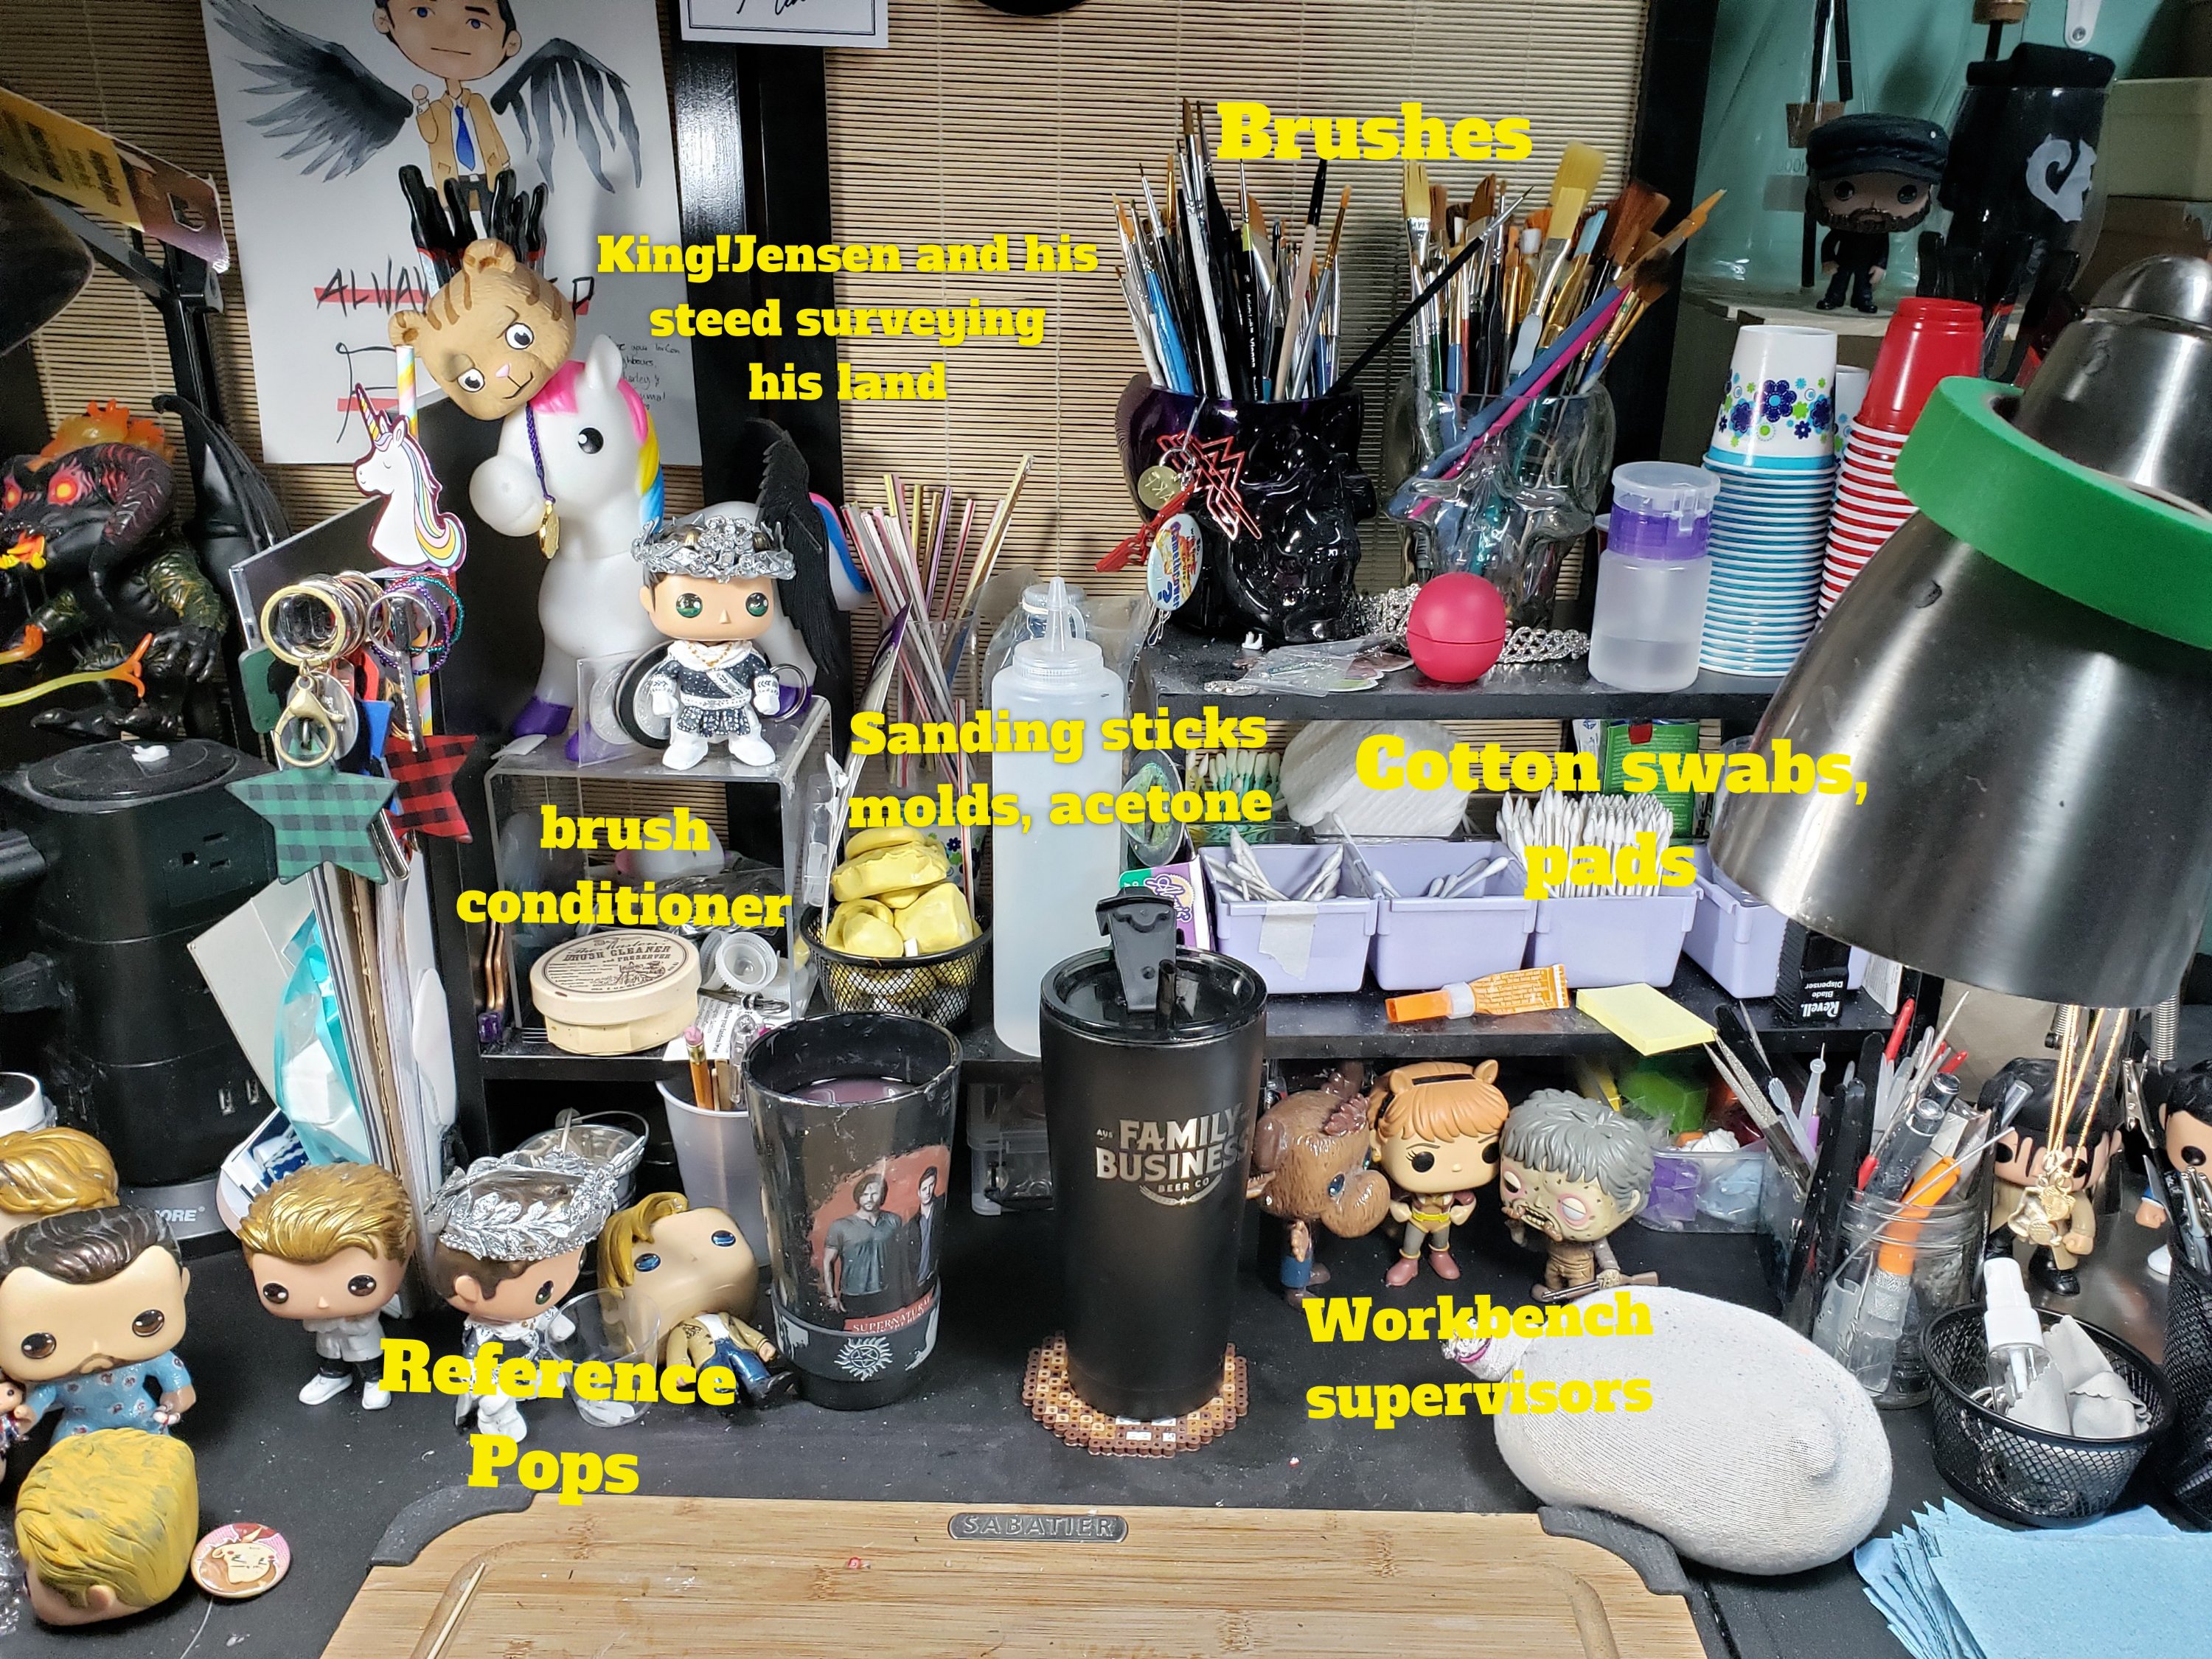
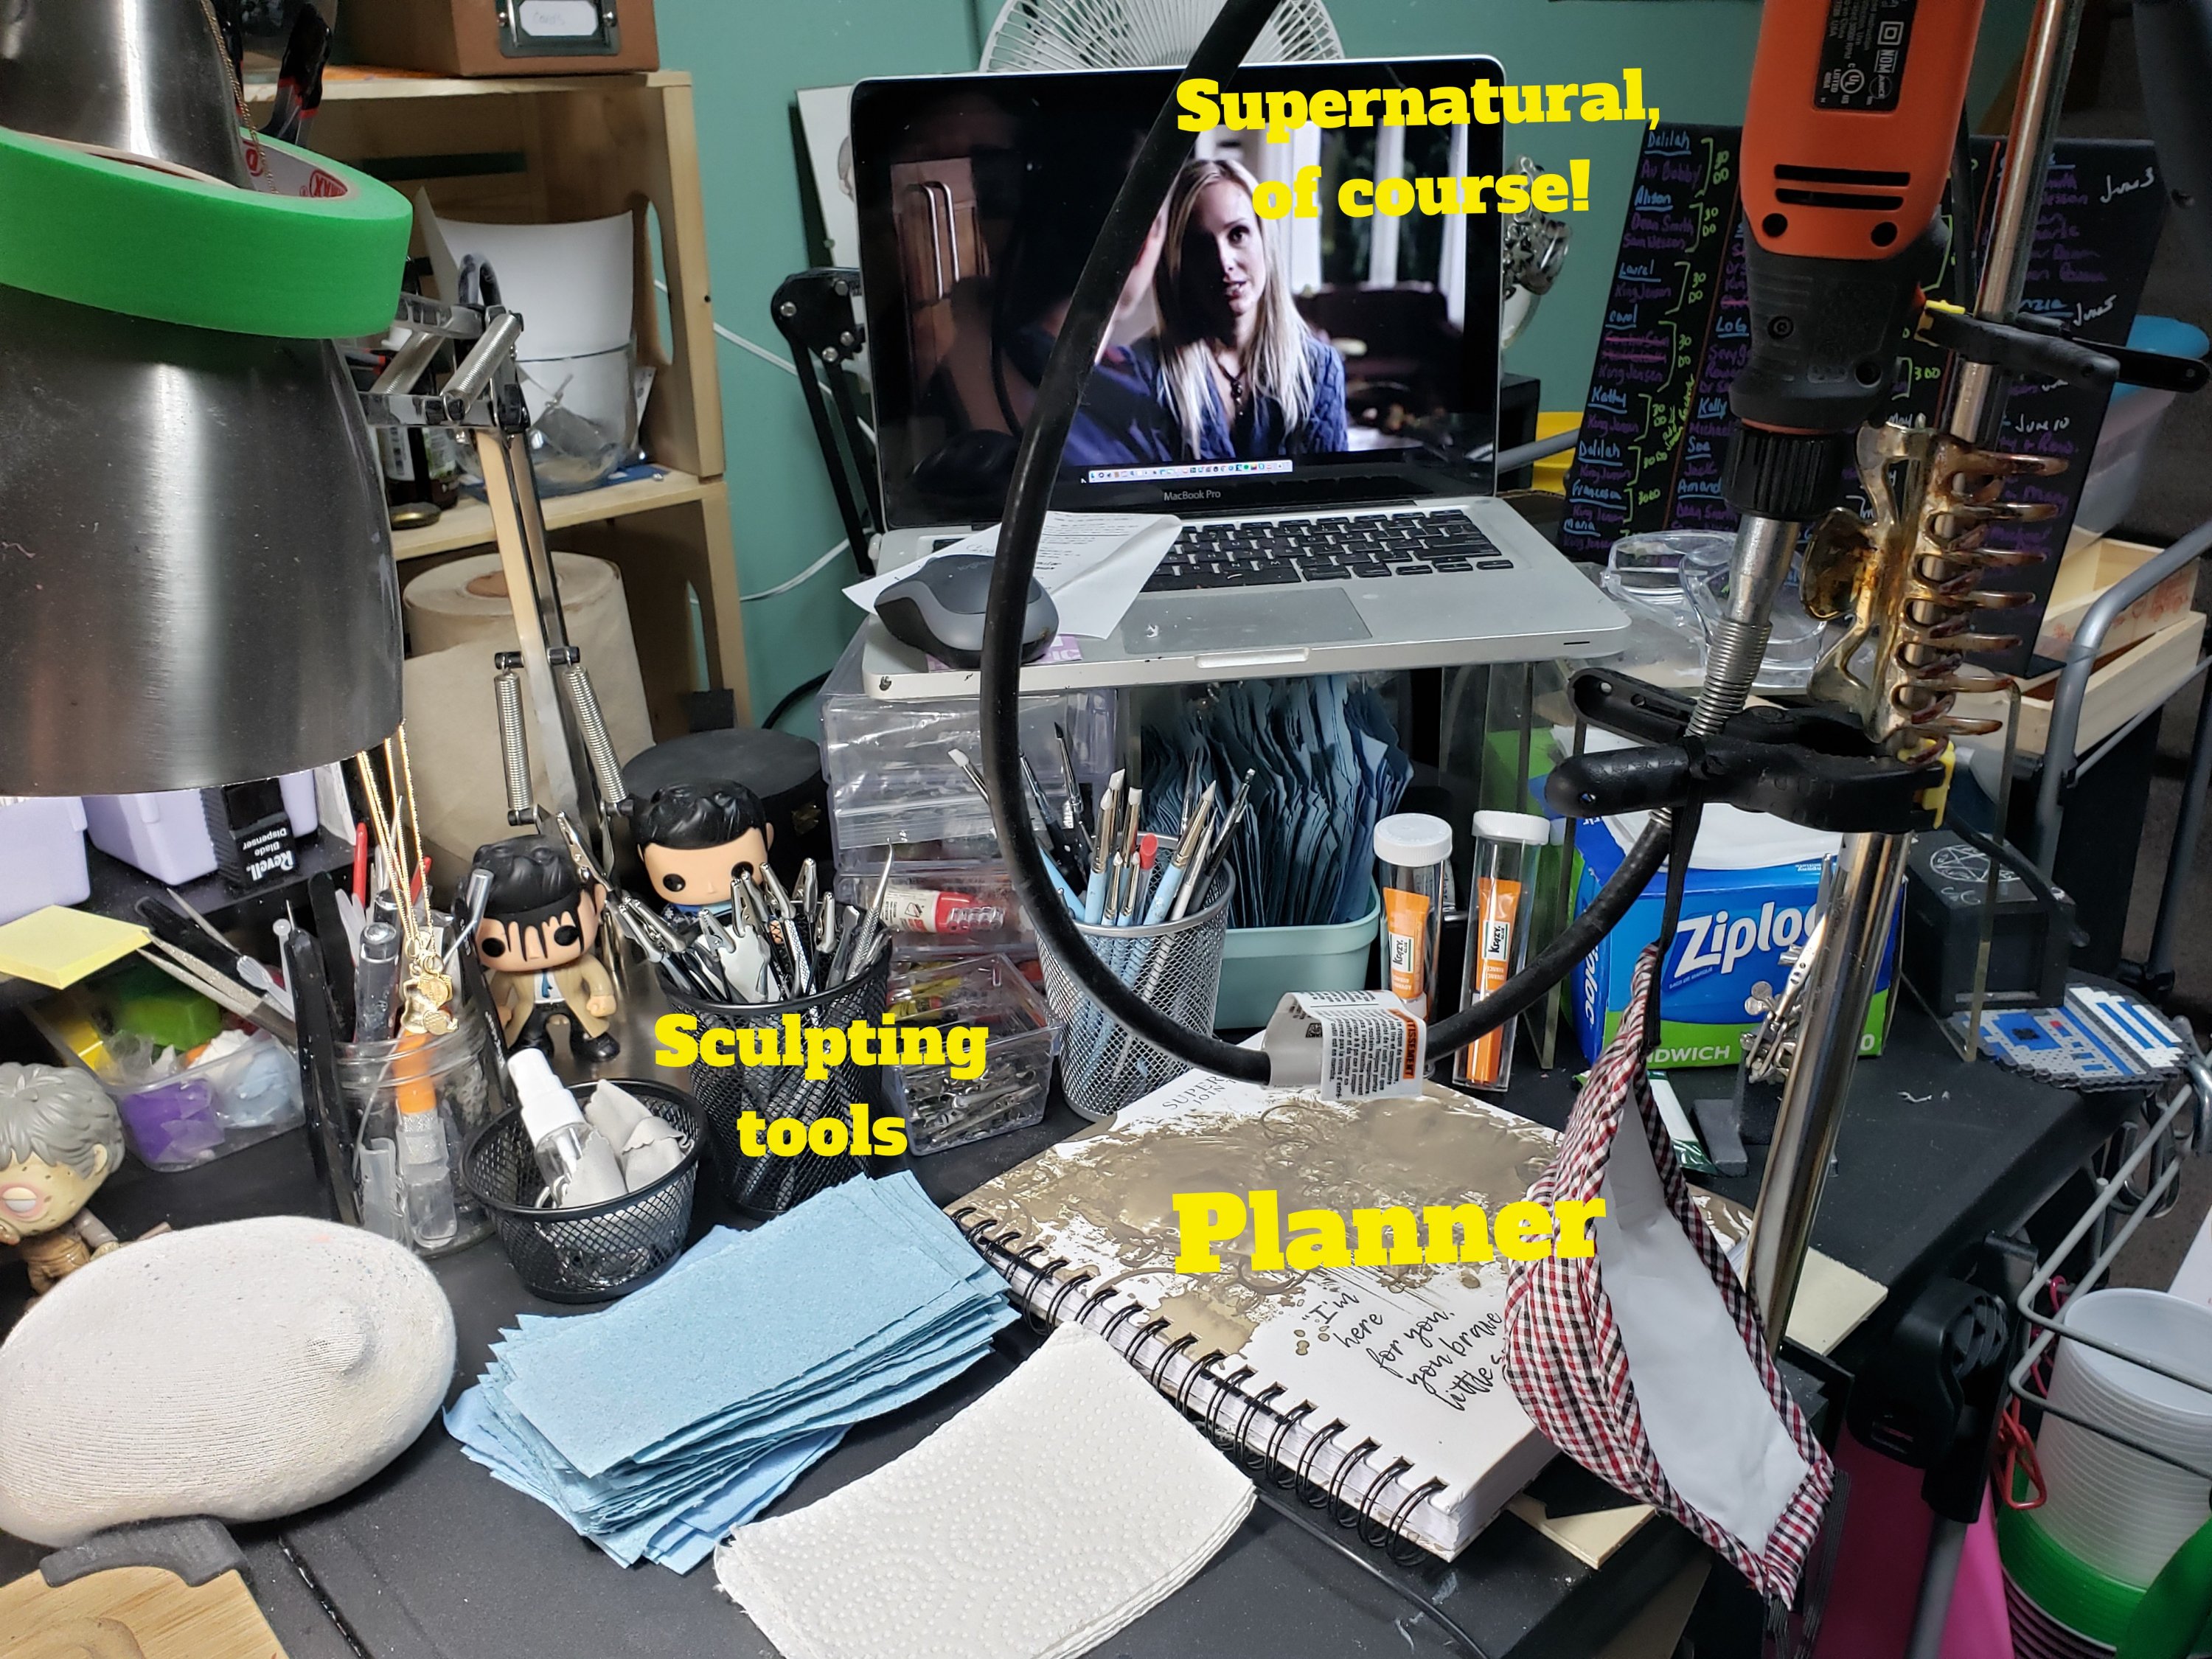
To my left is my planner, Mac (used for watching Supernatural while I work) and containers with sculpting tools, sharps, glue and my workbench list sorted by due dates. Below that is a set of drawers with plates (my palette at times), small tools, AKF raw materials, overflow paint and specialty paint (colour change, metal finish and such)
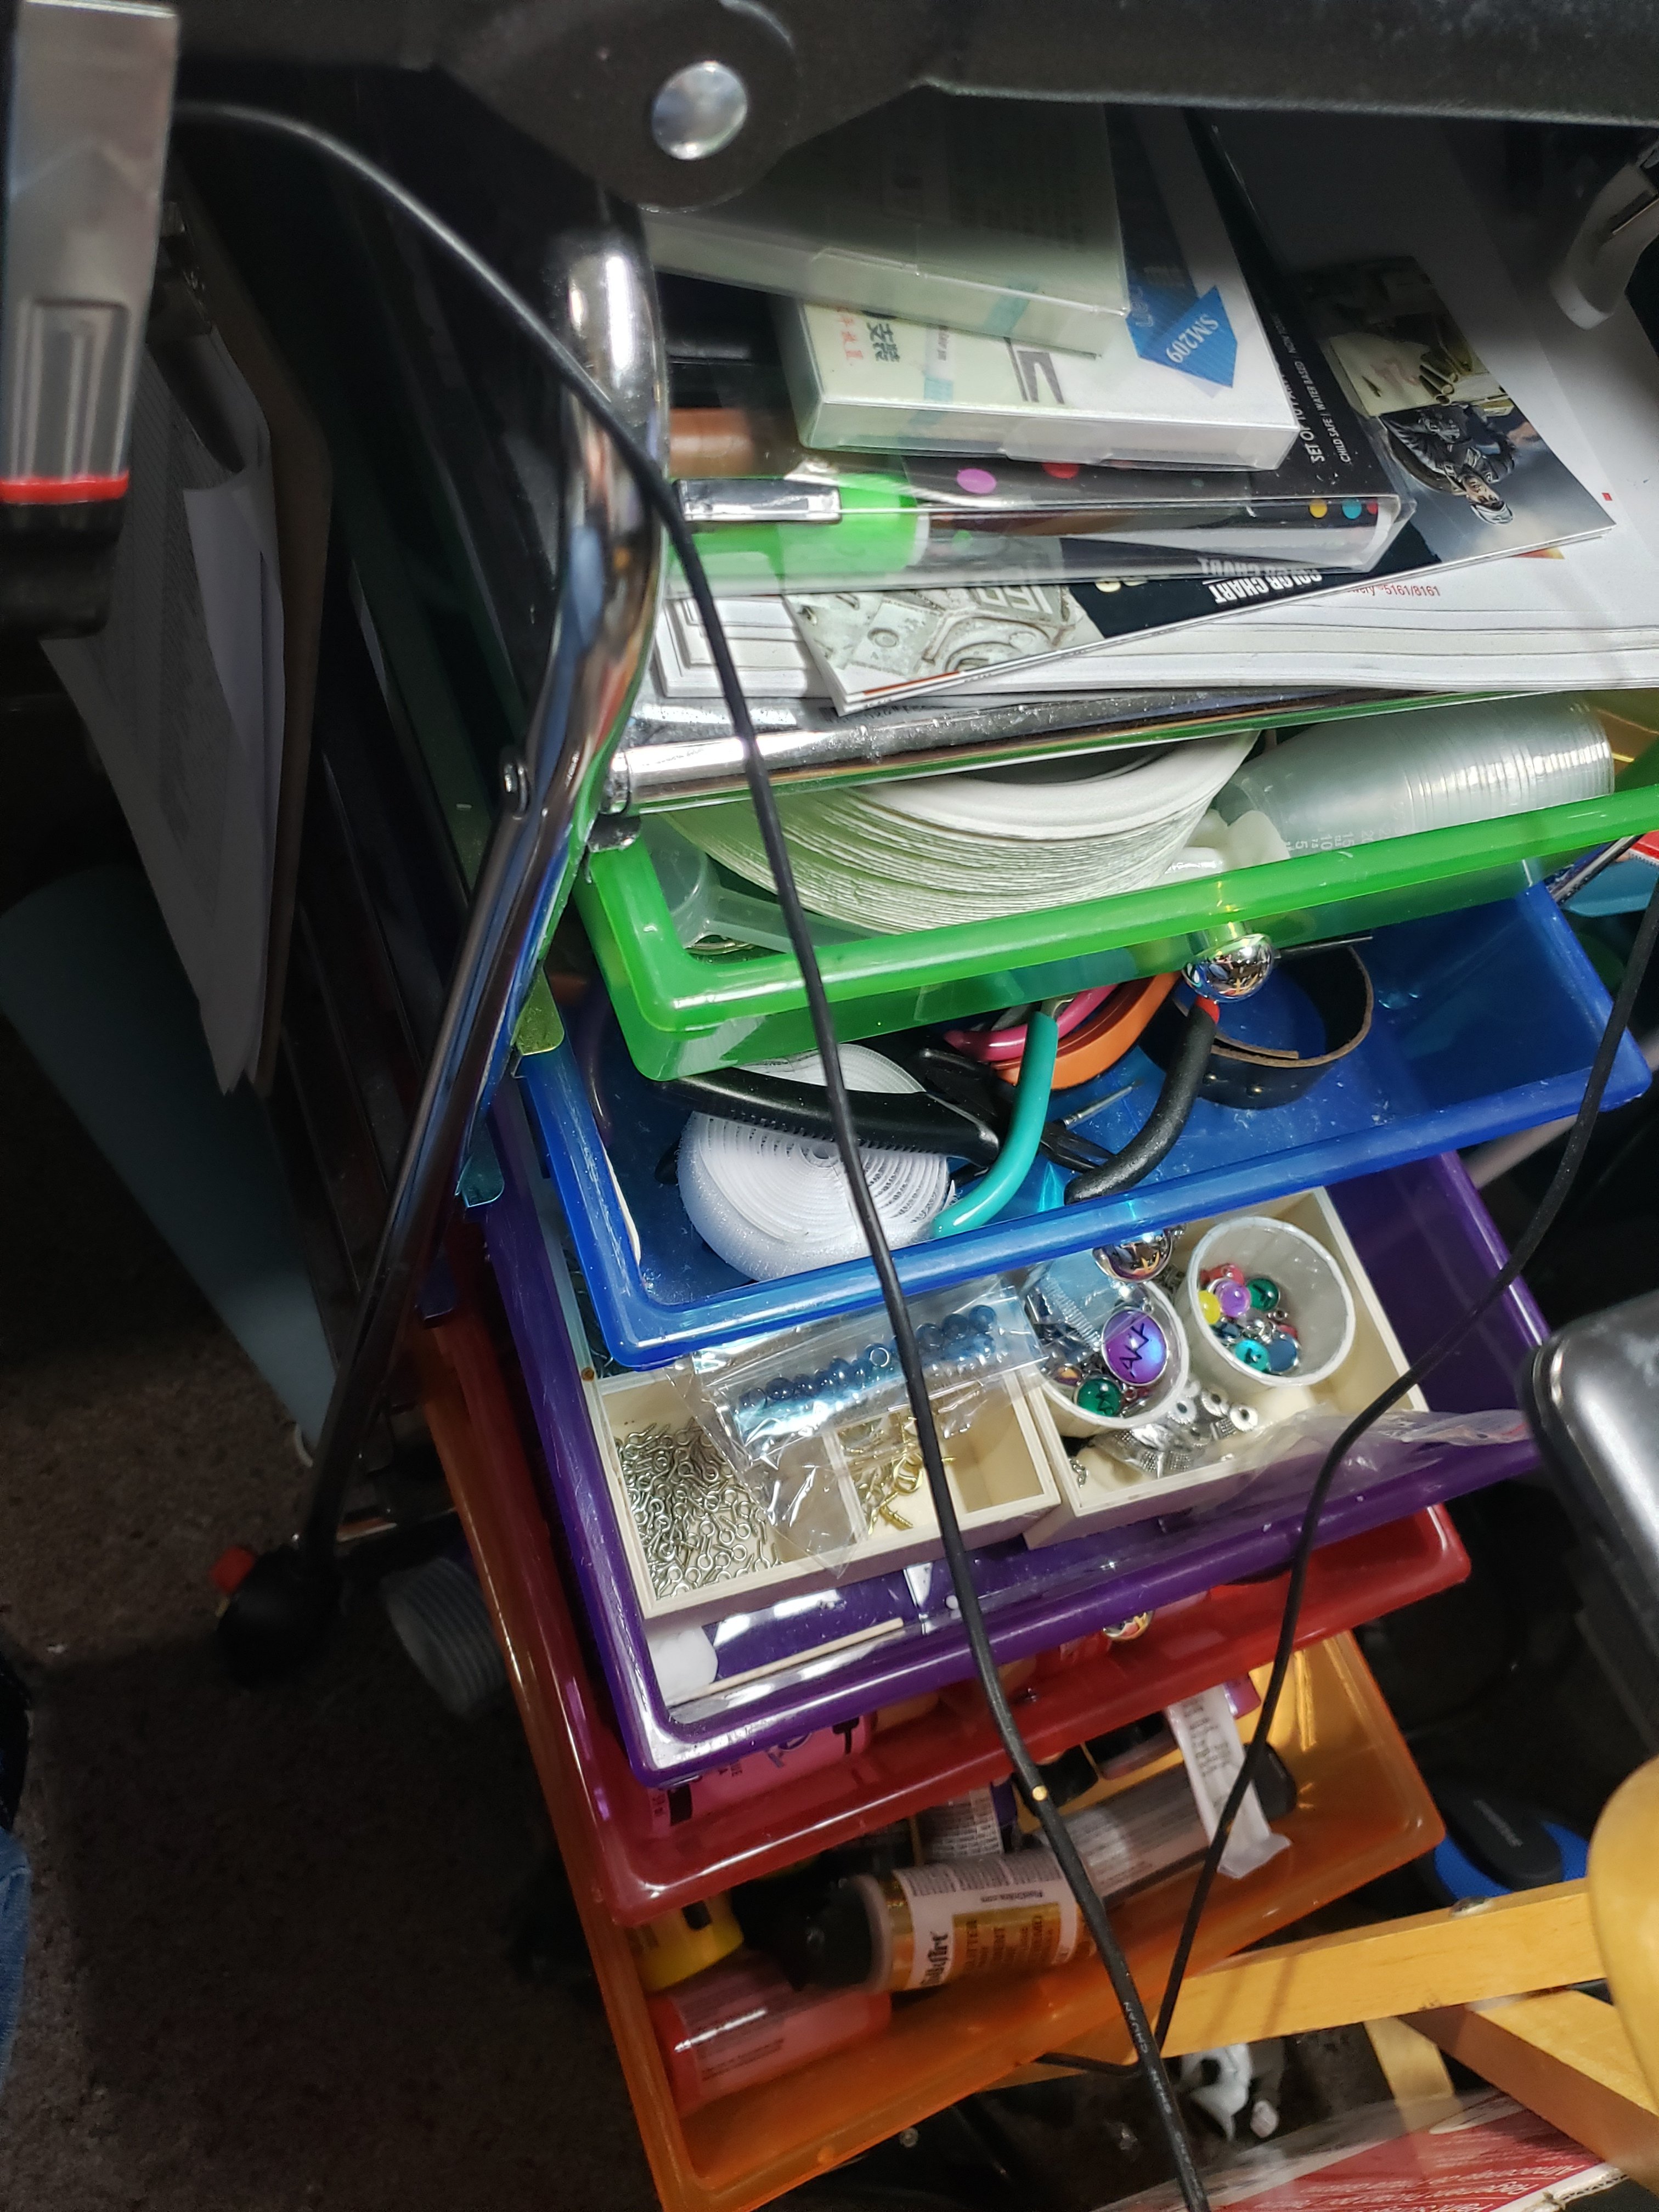
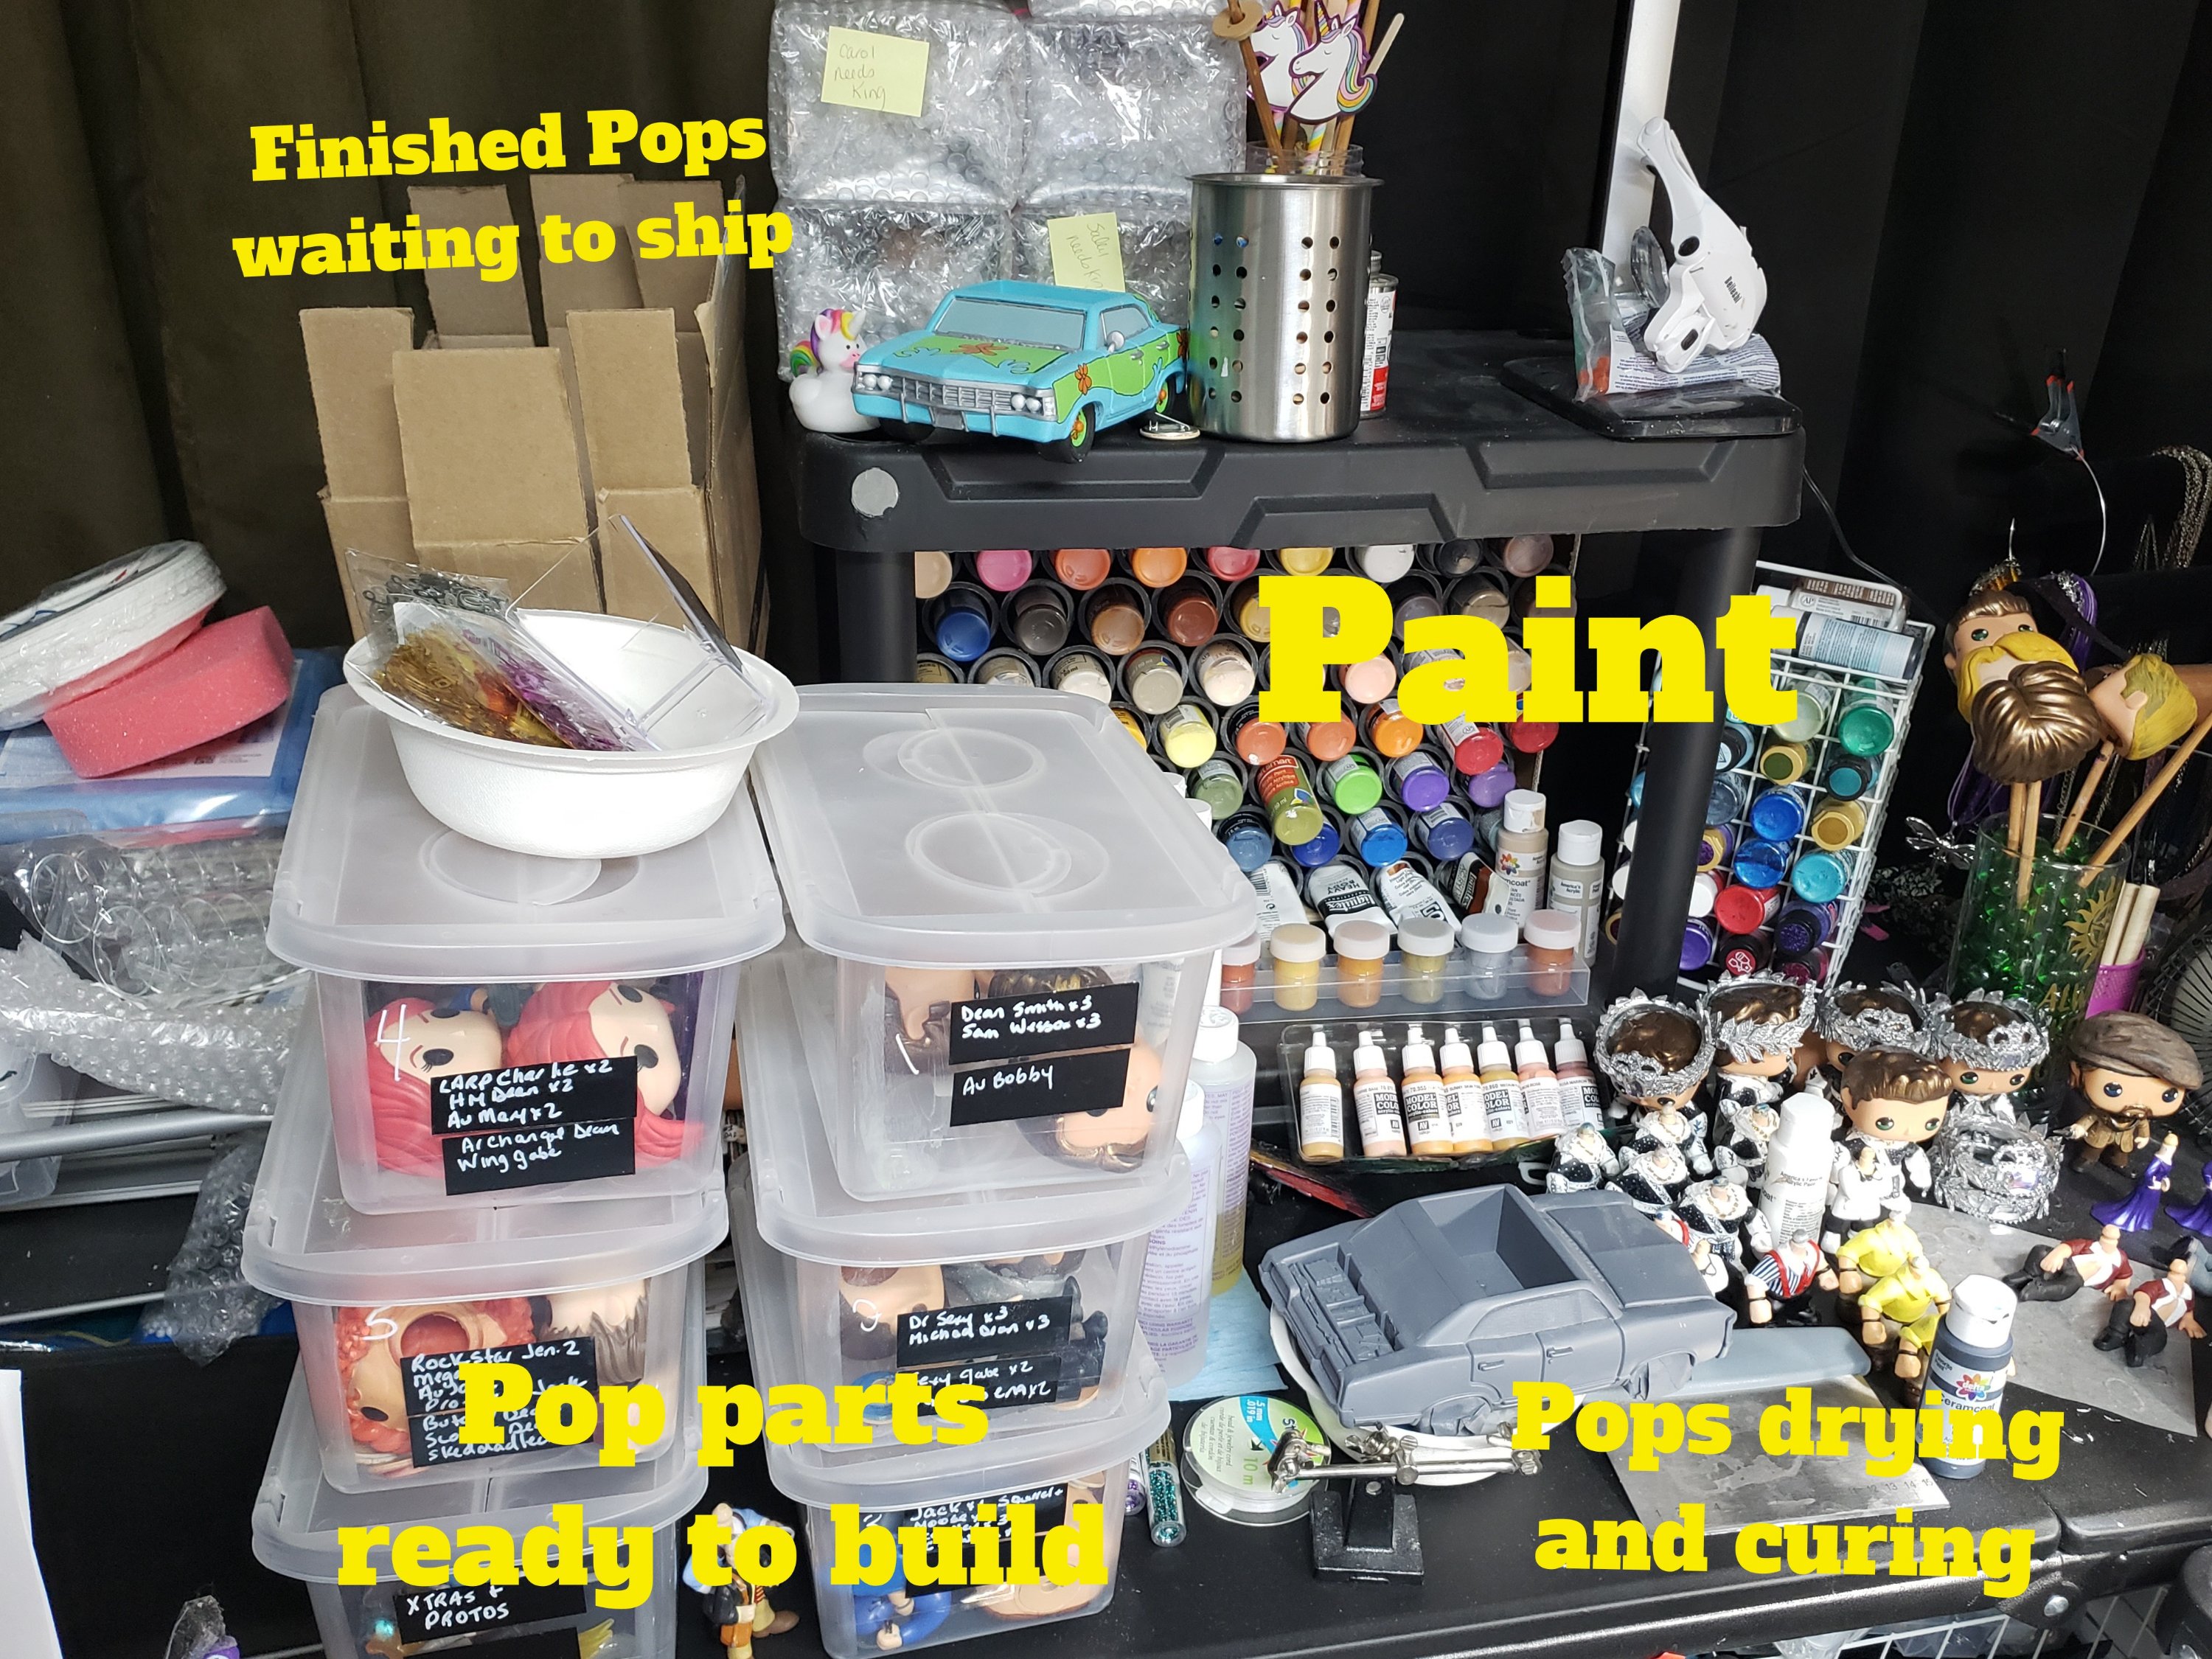
To my right will be broken into 2 areas. Pops and Jewelry/etc. For Pops, this is where the containers of pops on the go are stored and labelled. Weekly I go through new orders and gather the supplies (bodies) I need, break them down and sort. This lets me grab parts I need quickly. Also is my main paint storage, made from PVC pipe. I kinda love it. My metallic paints are in the separate holder for ease. Above that is a light, finished pops waiting for the rest of their orders and my bits for the Dremel.
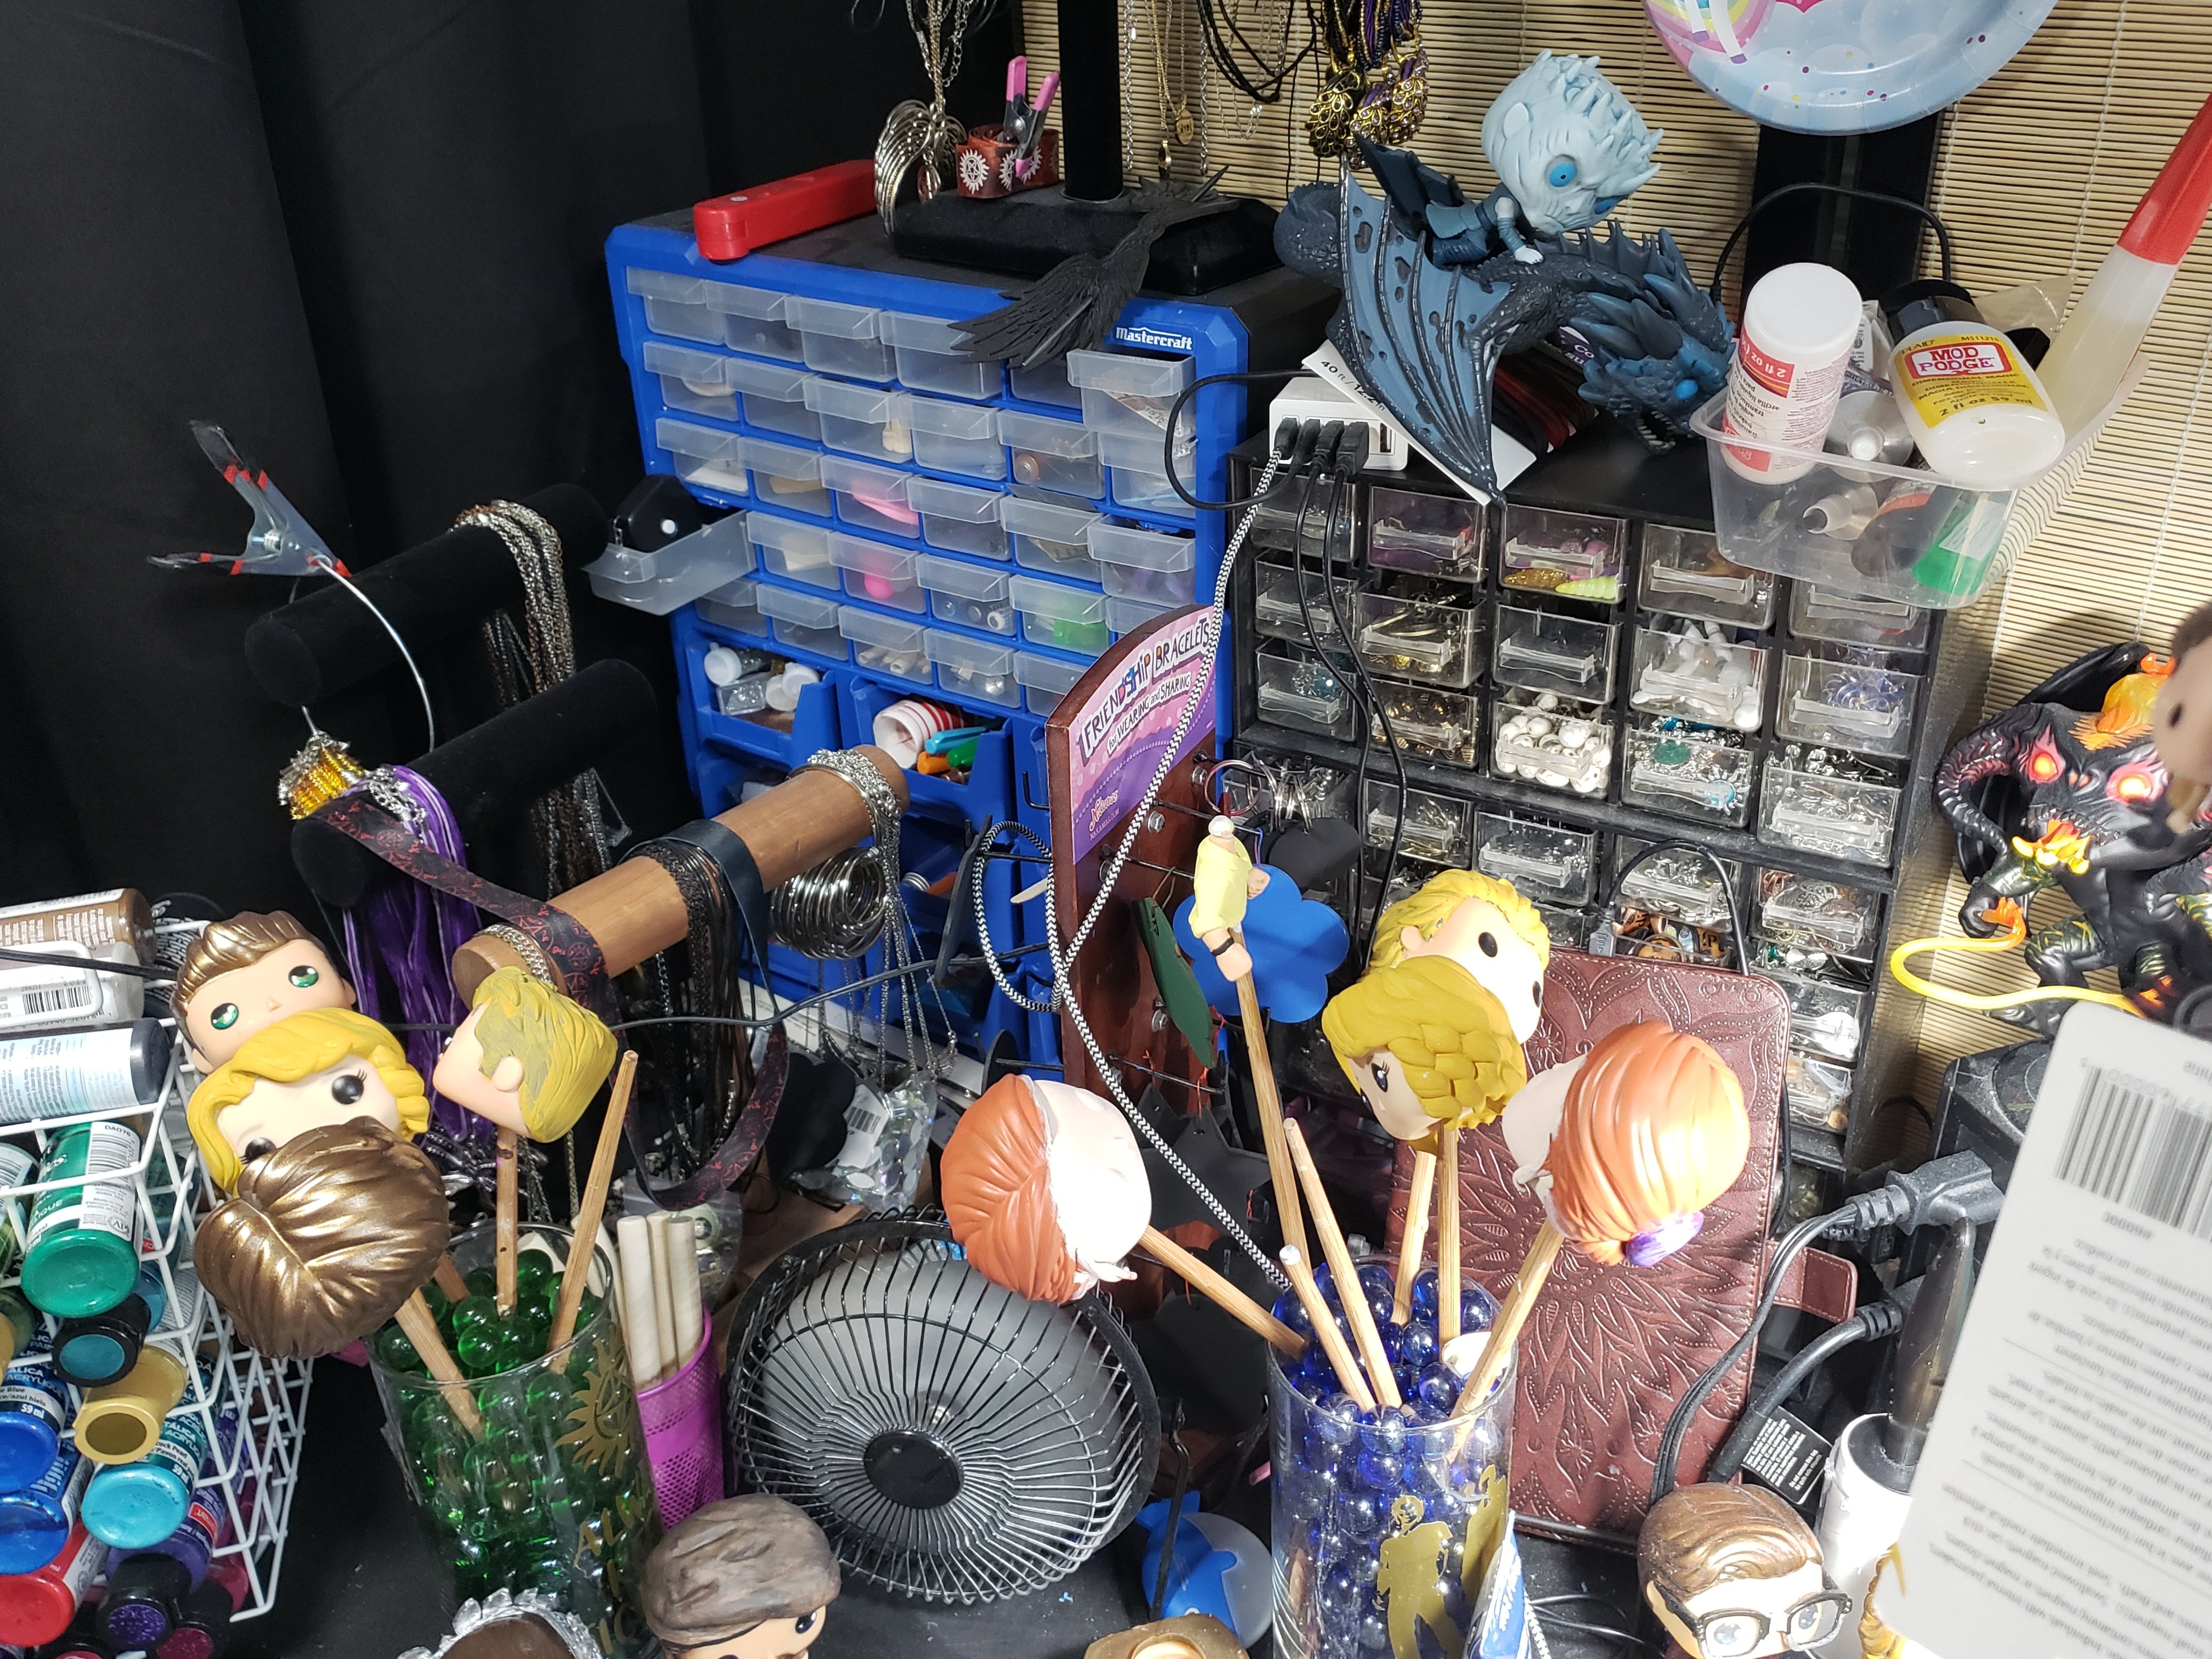
The Jewelry/etc area is in the corner. Holding the storage for charms, items in progress and stands to hold chains and leather strapping. There are other containers holding more supplies that are brought in as needed. This poor area has been neglected lately with the amount of pops on the workbench.
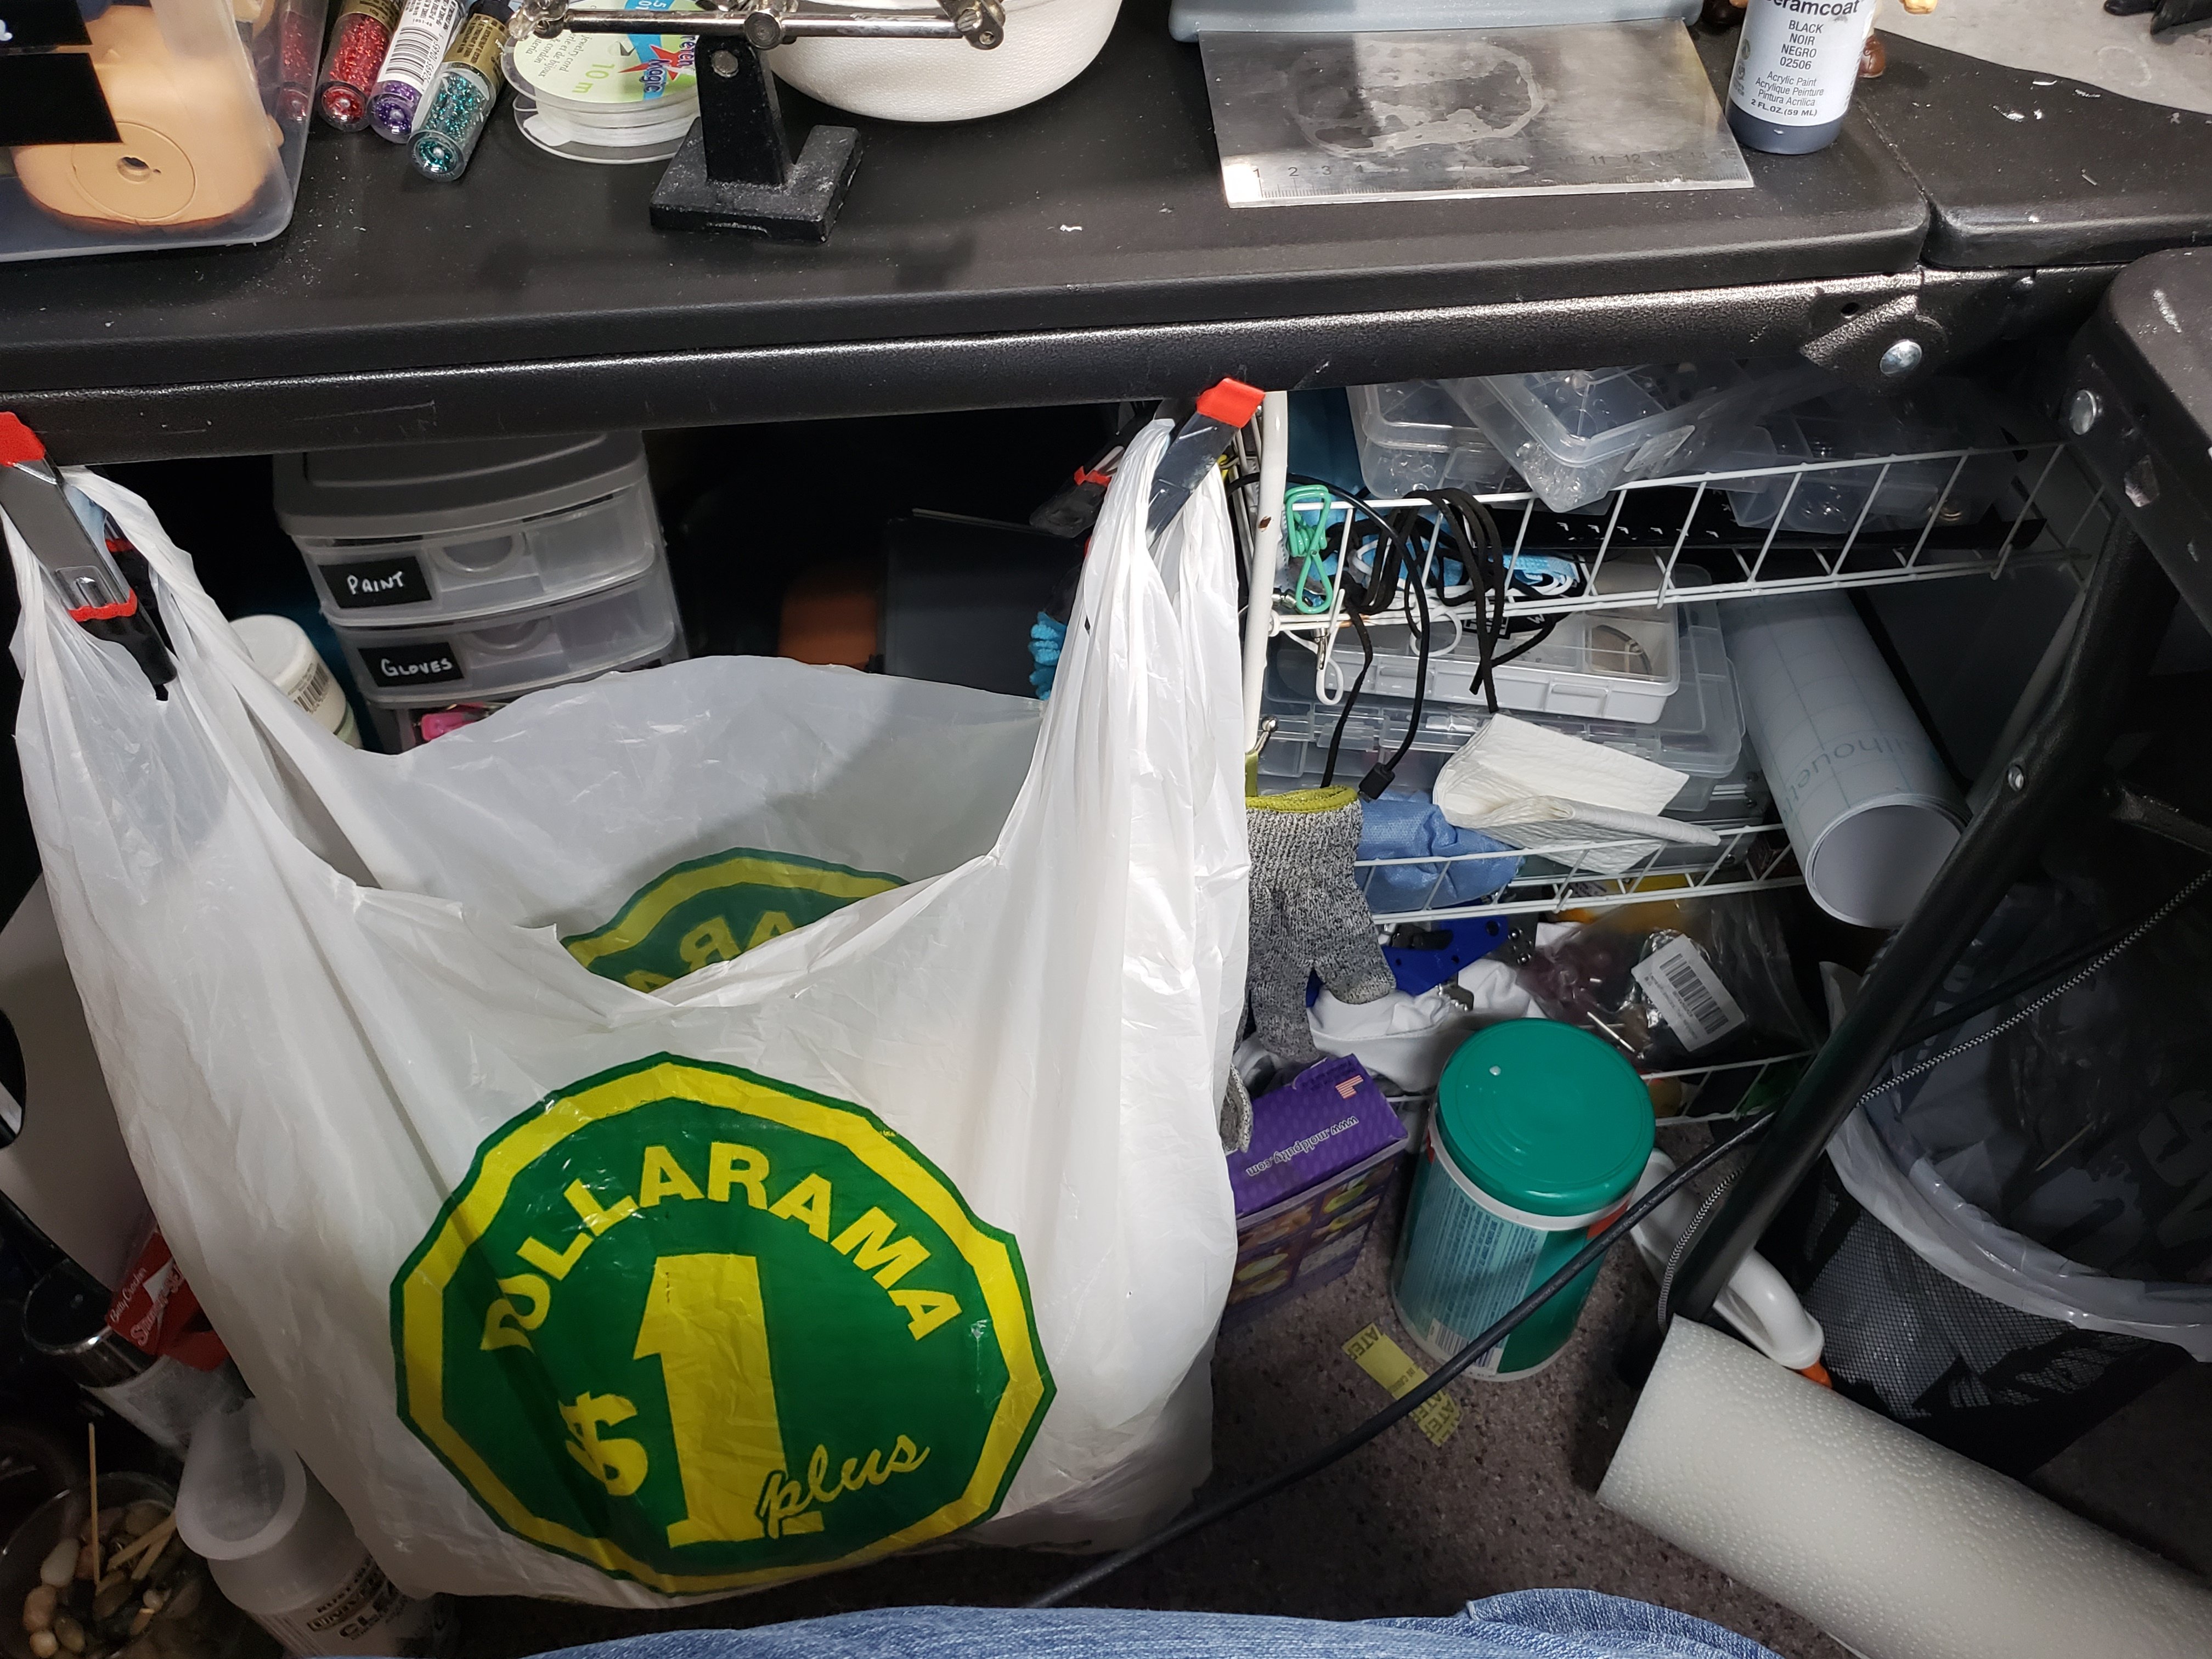
Below is …. well… stuff. It’s cabochon storage, Metal stamping supplies, wax seal supplies, polishing supplies and anything else I can’t find another place for.
Tools
The first thing to know is NONE OF THE TOOLS ARE IMPERATIVE. They make things easier, but you can start with just basics and still do a good job. I’ll outline what I use most and why, but you’ll find what works for you. A lot of what I use are geared to mobility. Anything to ease my hands is helpful.
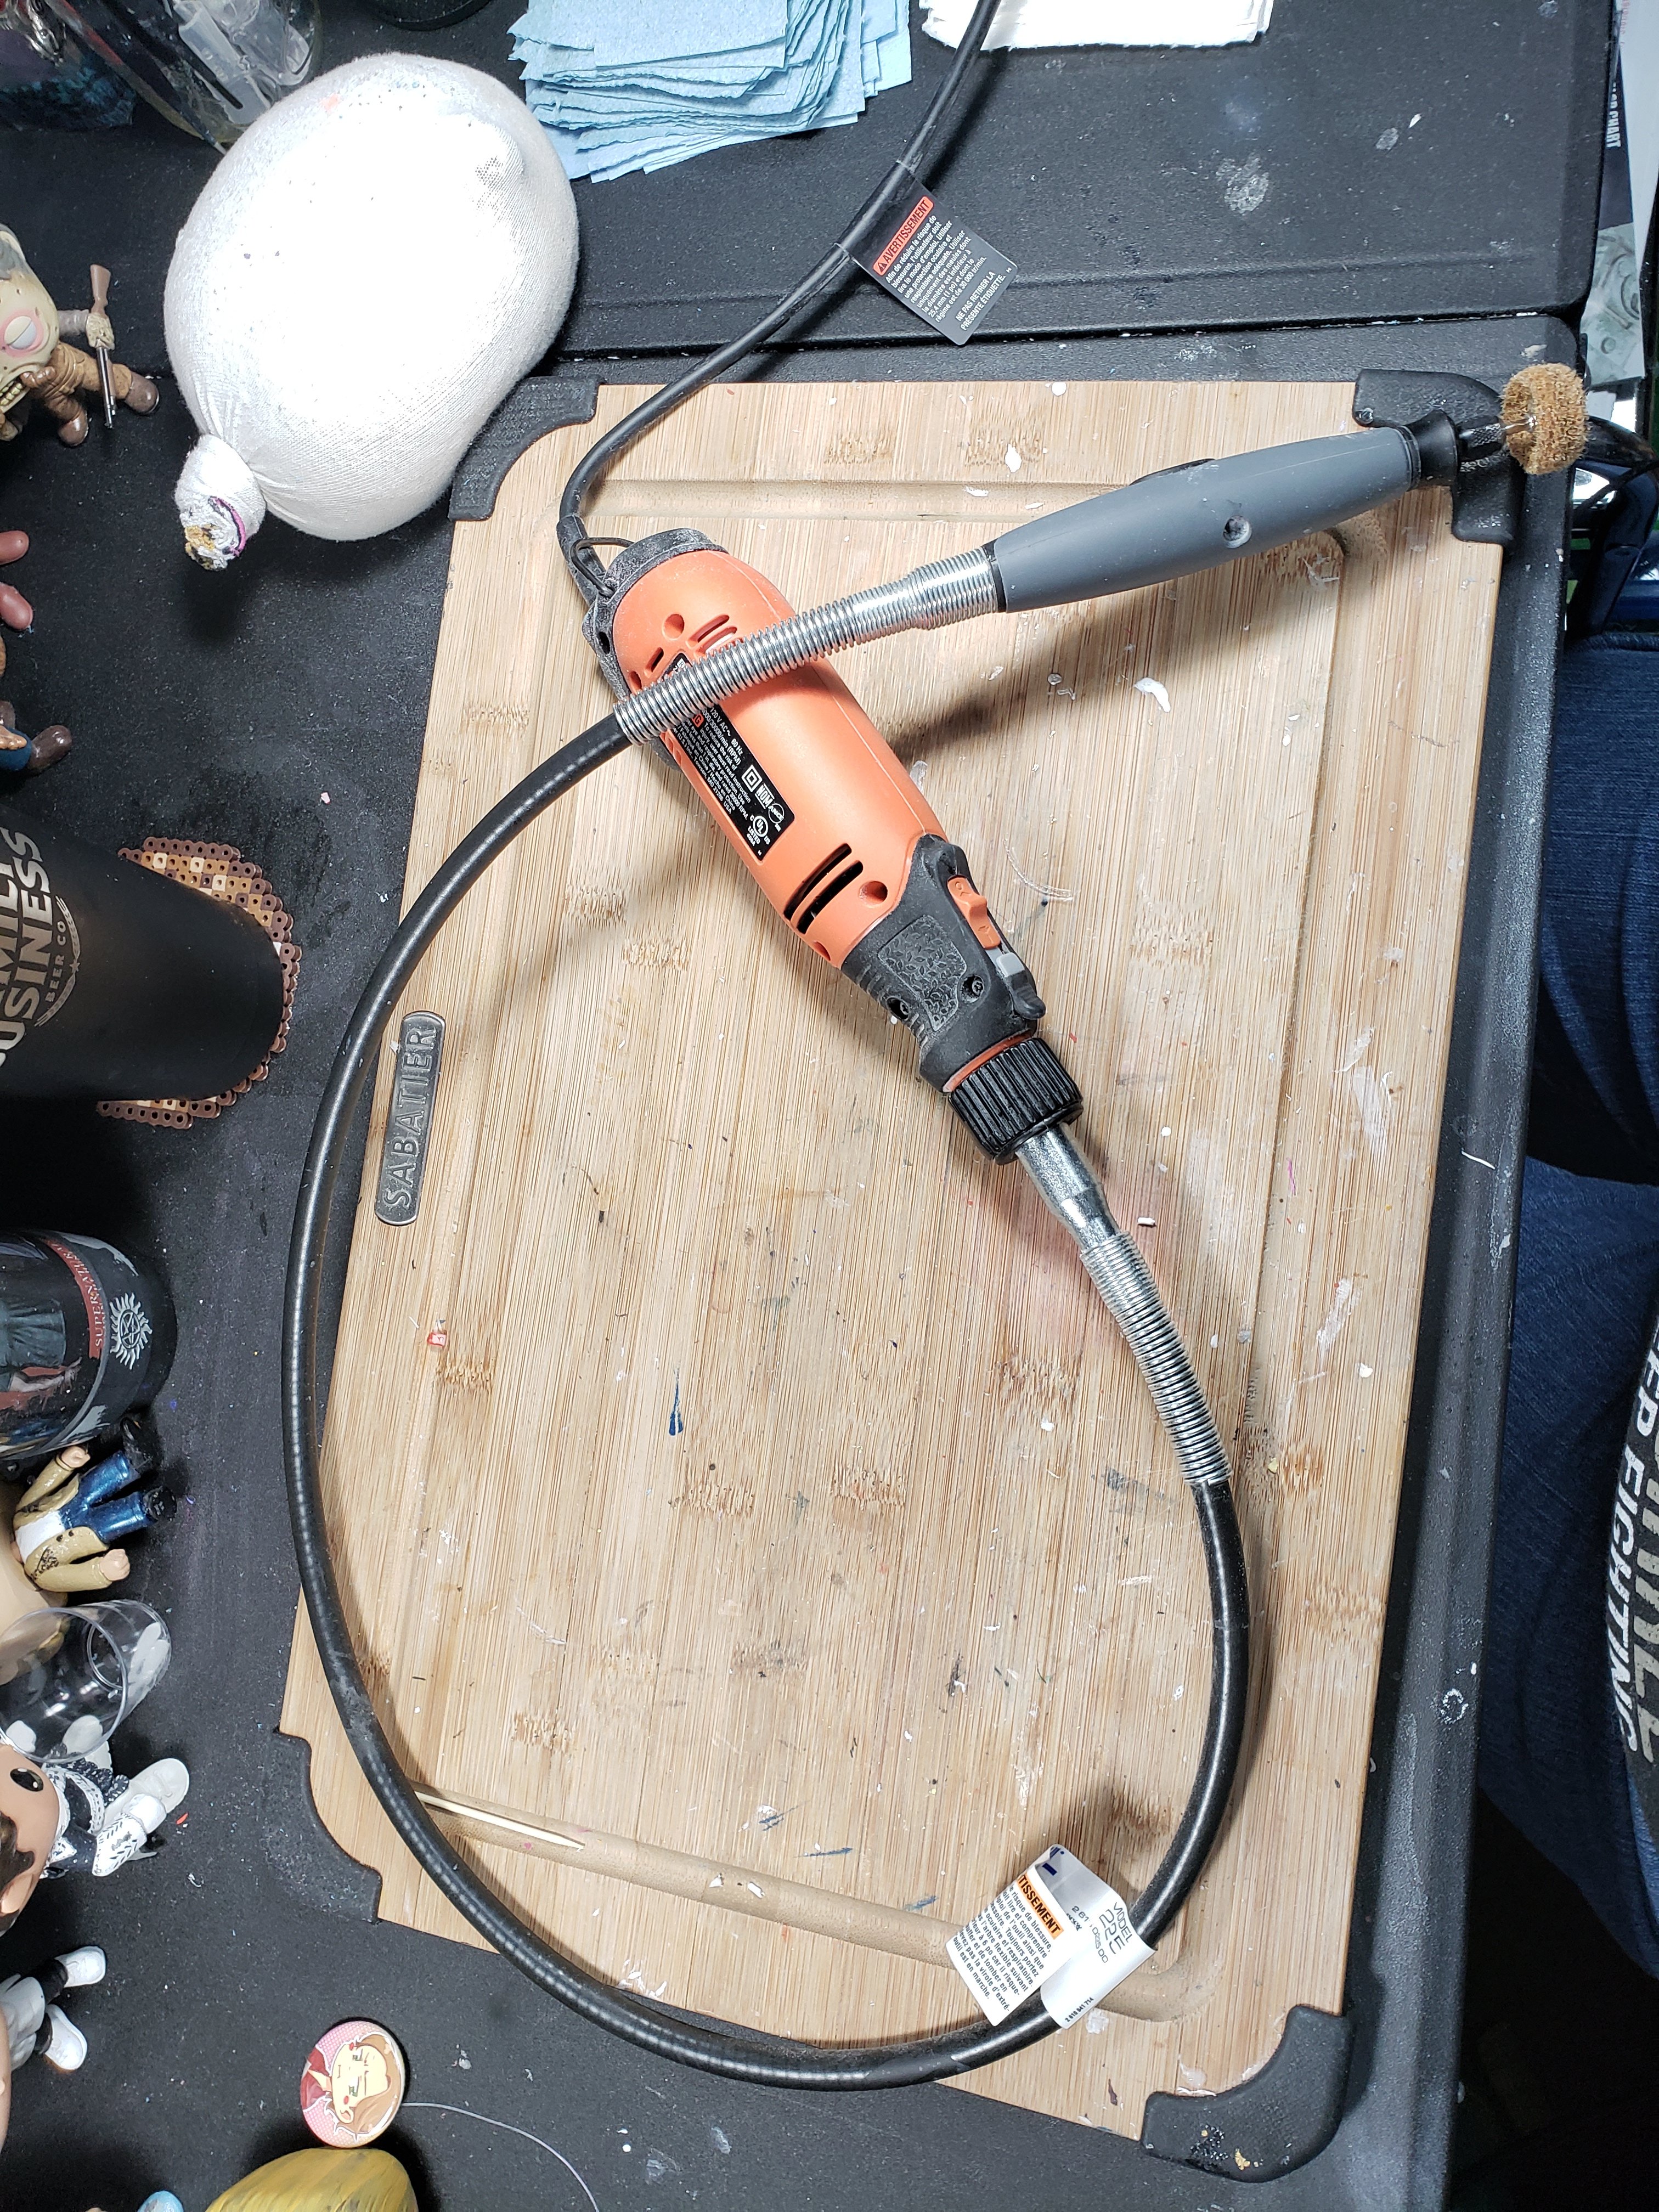
My Rotary Tool is one of the 2 most used items. With different heads it can cut, smooth, carve, polish, sand and makes quick work of a lot of the processes. I have an off name one, bought at Canadian Tire for about $40 (CDN) I splurged and bought a flex shaft attachment which is incredibly helpful. it allows easier movement and longer use without less hand strain. Most rotary tools have similar size of shaft so heads are often interchangeable, especially with different colletts.
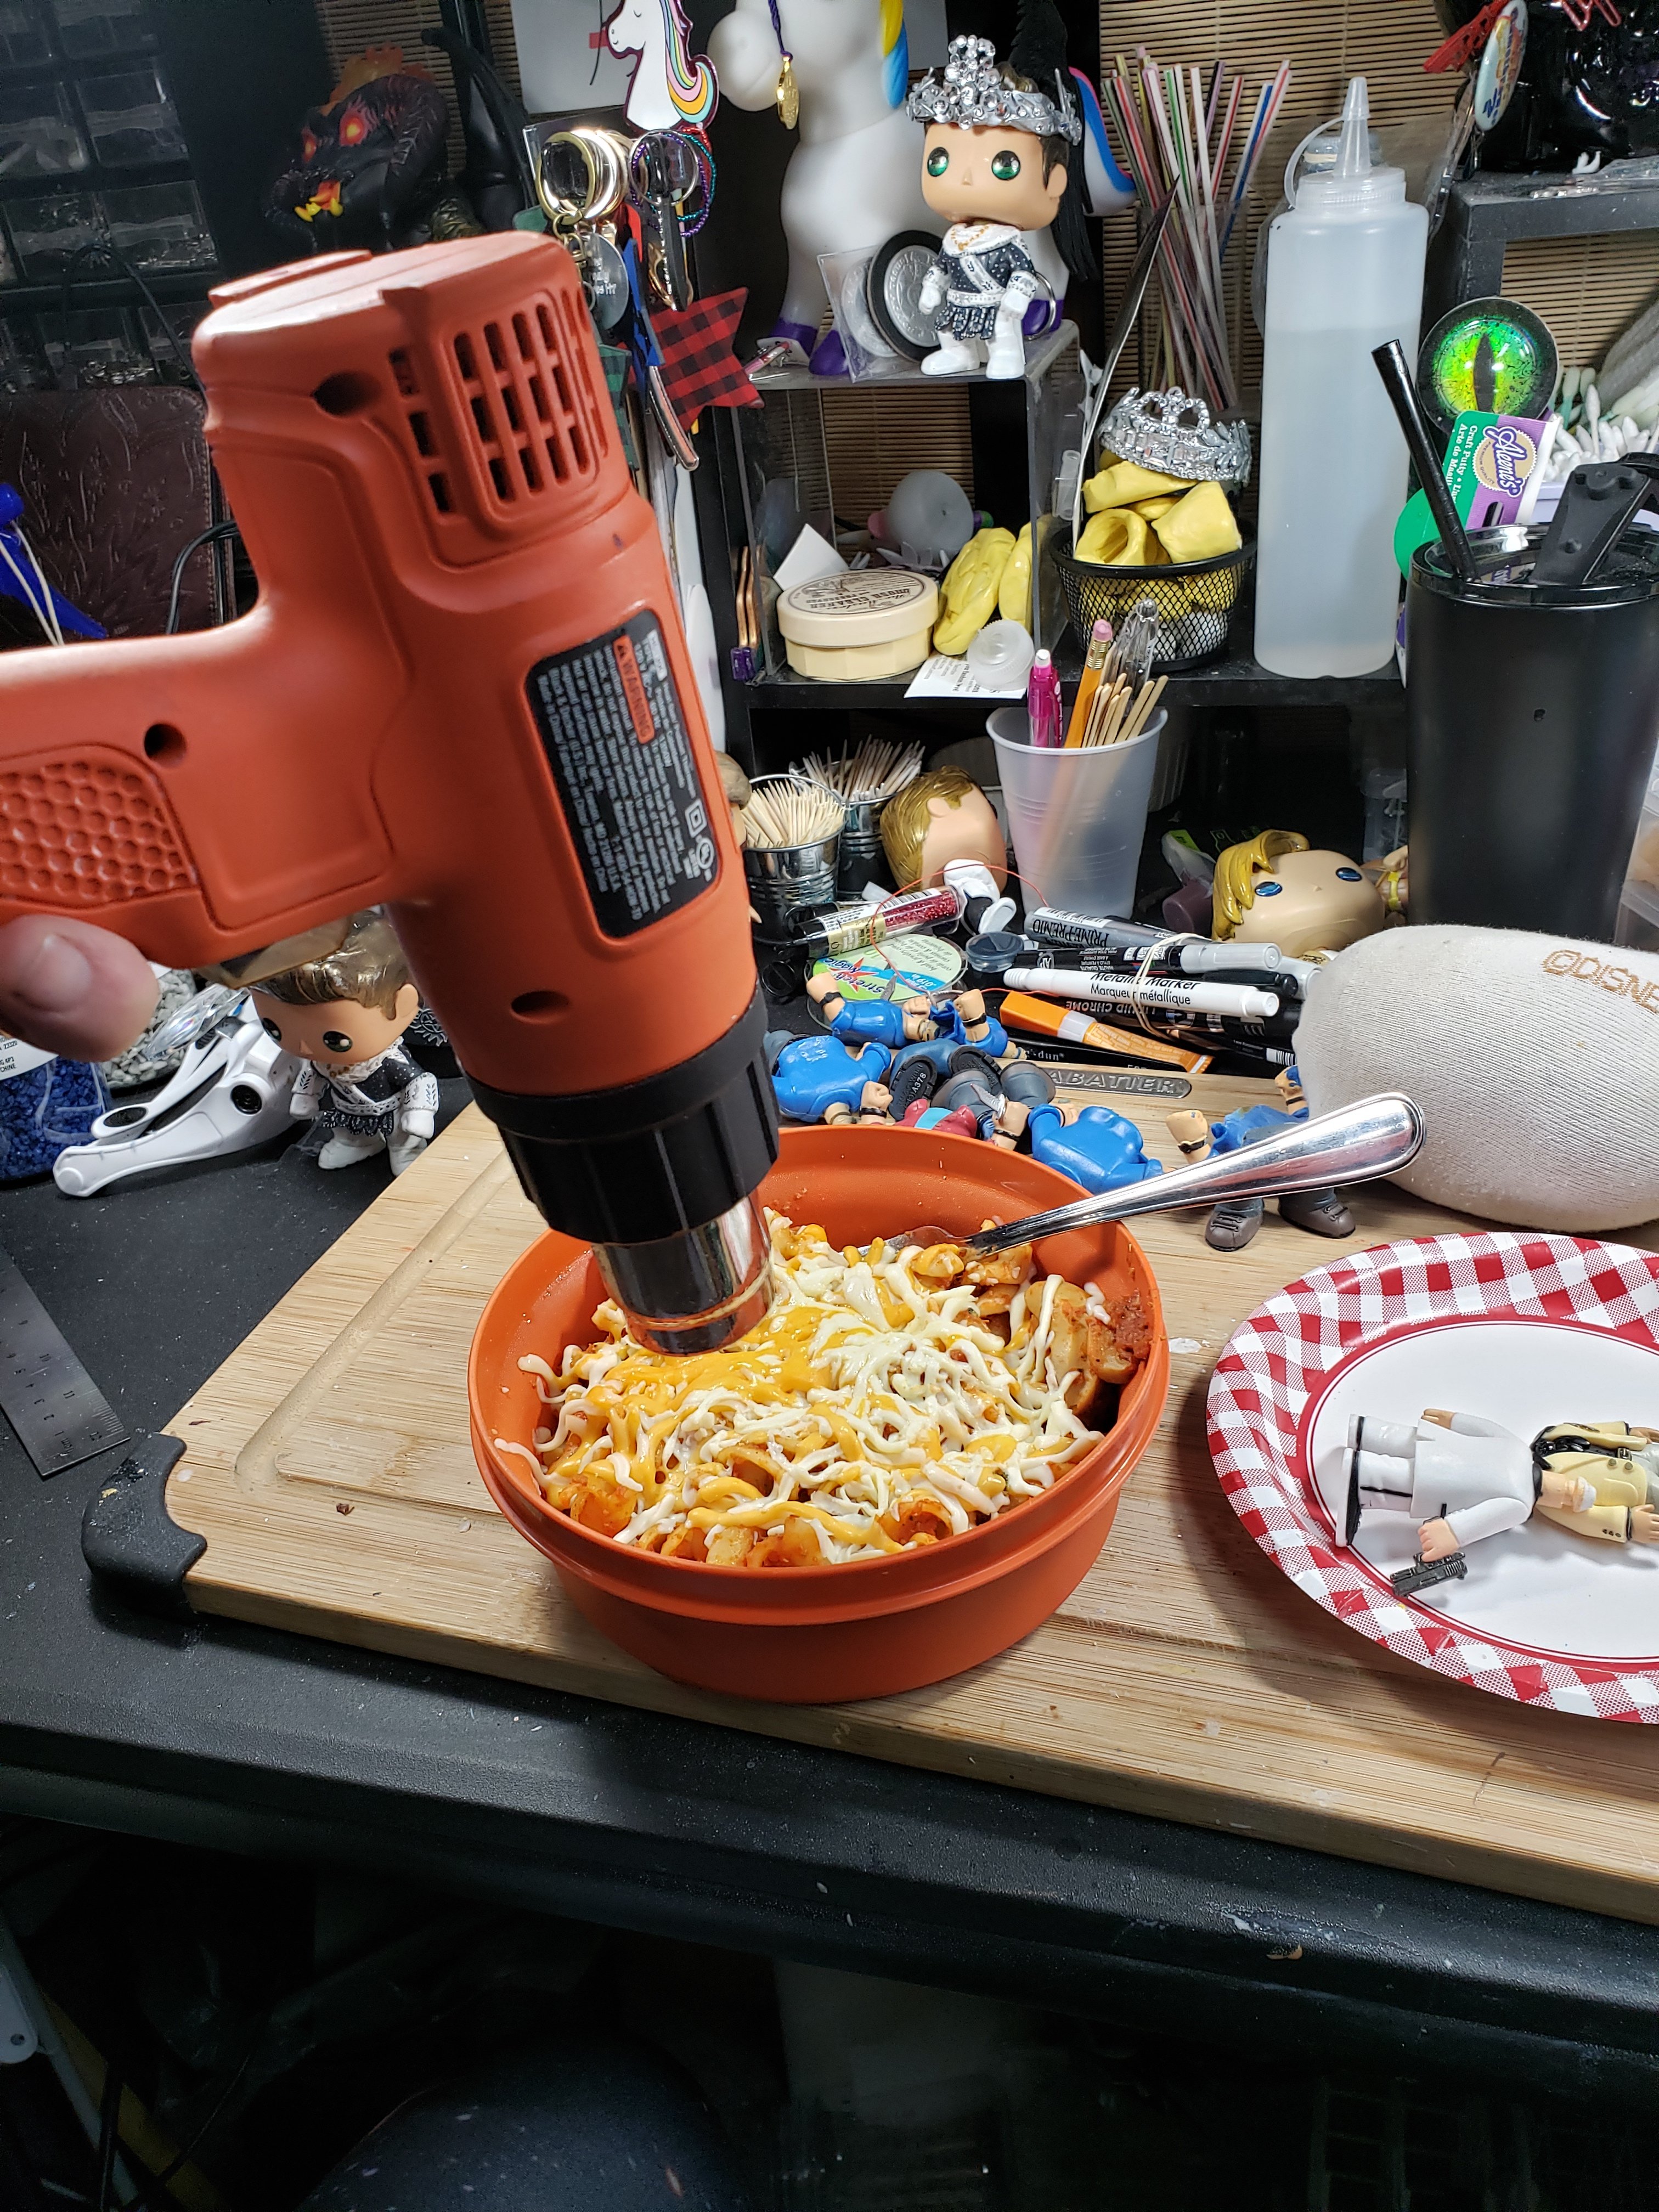
My Heat Gun is the 2nd of the 2 most used items. It cures polymer clay, heats pops to move arm/leg positions, softens glue to take them apart, heats plastic to form into shapes and occasionally heats up my lunch! I have a Black and Decker dual temp gun, but started with a craft heat gun meant to heat embossing powder that I bought at the craft store for 19.99 that worked just fine. The scale of what I do made it impractical but for most that, or even a good hair dryer may accomplish what you need. You can use an oven to cure sculpy and that works fine, I just don’t want to keep schlepping upstairs, so the heat gun is quicker and more direct for me.
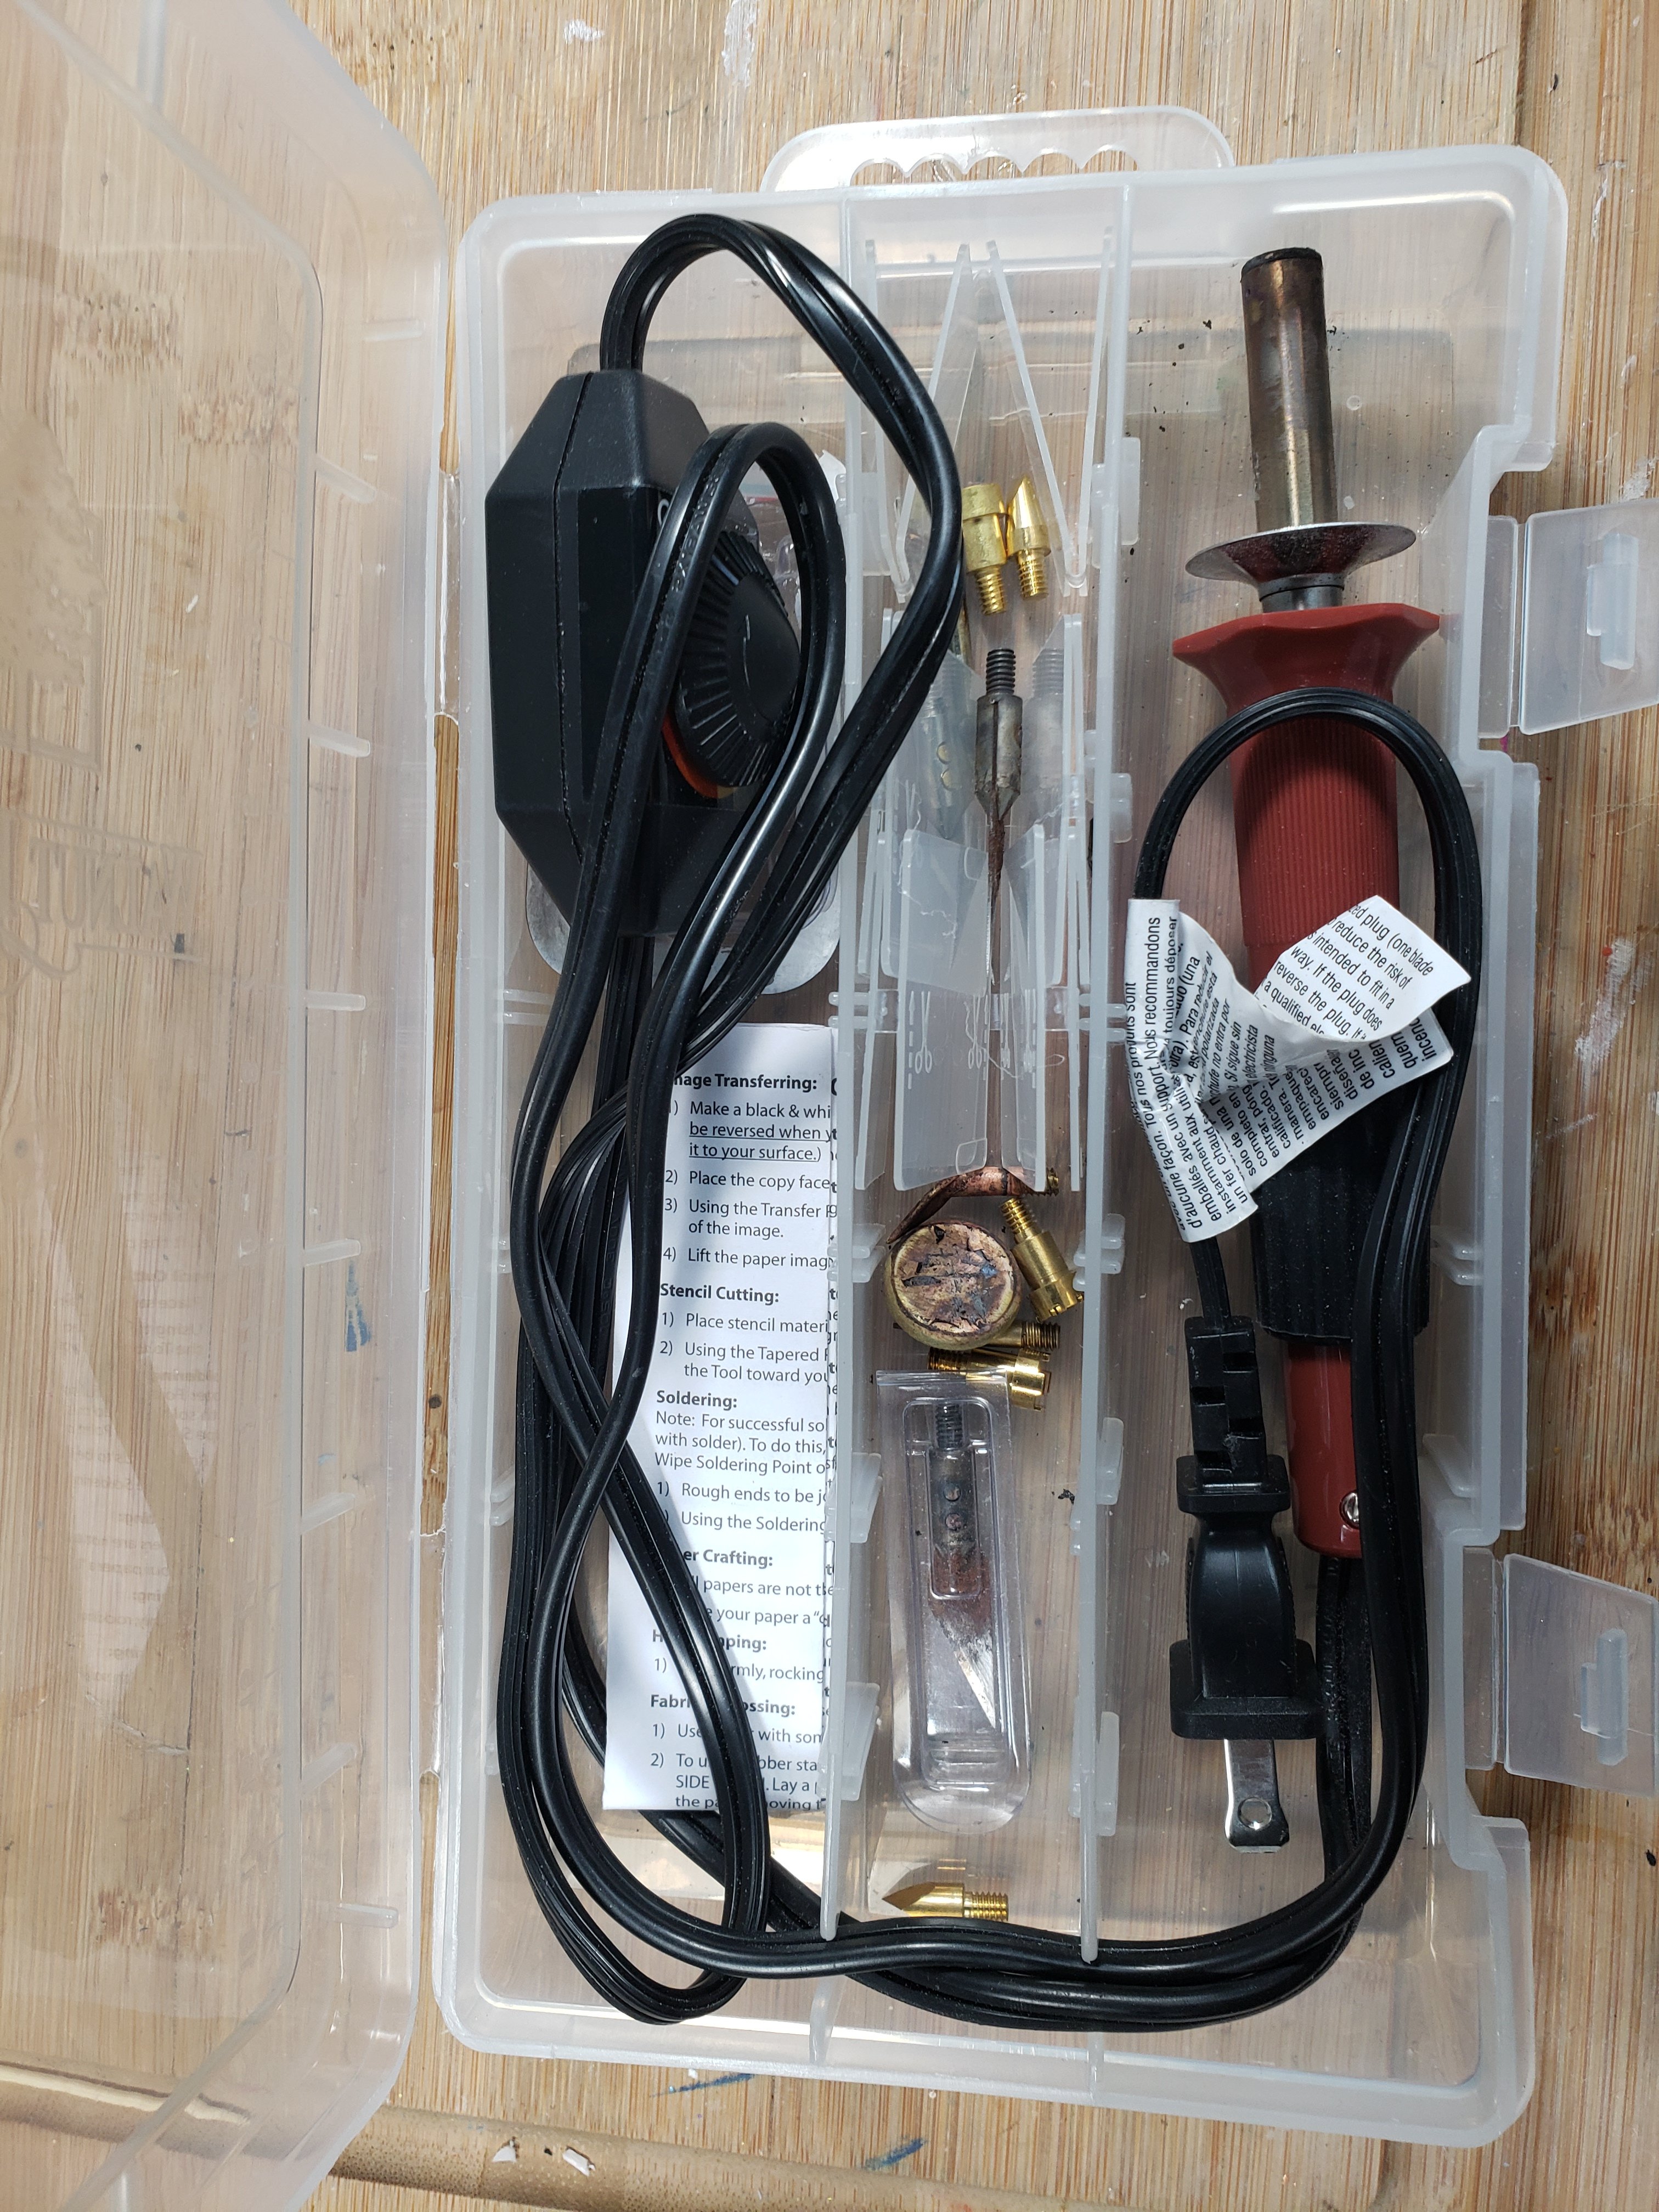
A Hot knife is something I use on occasion. It works when you need to cut your pop or plastic fairly detailed or neatly. The one I have can also burn wood and has a series of attachments. I don’t pull it out every day, but when I do it’s always a good time saver and helps with neat cuts.
A glue gun is handy for some, but I don’t use it often. Usually just for Sparkle the Manicorn to glue his hair down. The pros is that it is a quick hold, but often not strong enough for many items. It can help to tack things in place while you wait for the better glue to set. It can also be used to make designs, like on the Book of the Damned, to be painted over. For glue, I prefer Weldbond, E6000 or Super Glue, keeping in mind Super glue will dissolve paint, sometimes dries white and is not suitable for rhinestones as it will bubble the reflective backing.

These are the basics. There are others, knives, scrapers, clamps and such, but this is what I use on a daily basis. Again, to stress, you don’t need all this to start. You can boil your heads to get them off, use a hair dryer to soften glues/bend arms and sand by hand. Once you get the feel for customizing, you can decide if you want to invest in some tools. Feel free to leave a comment or question below!

Leave a comment