
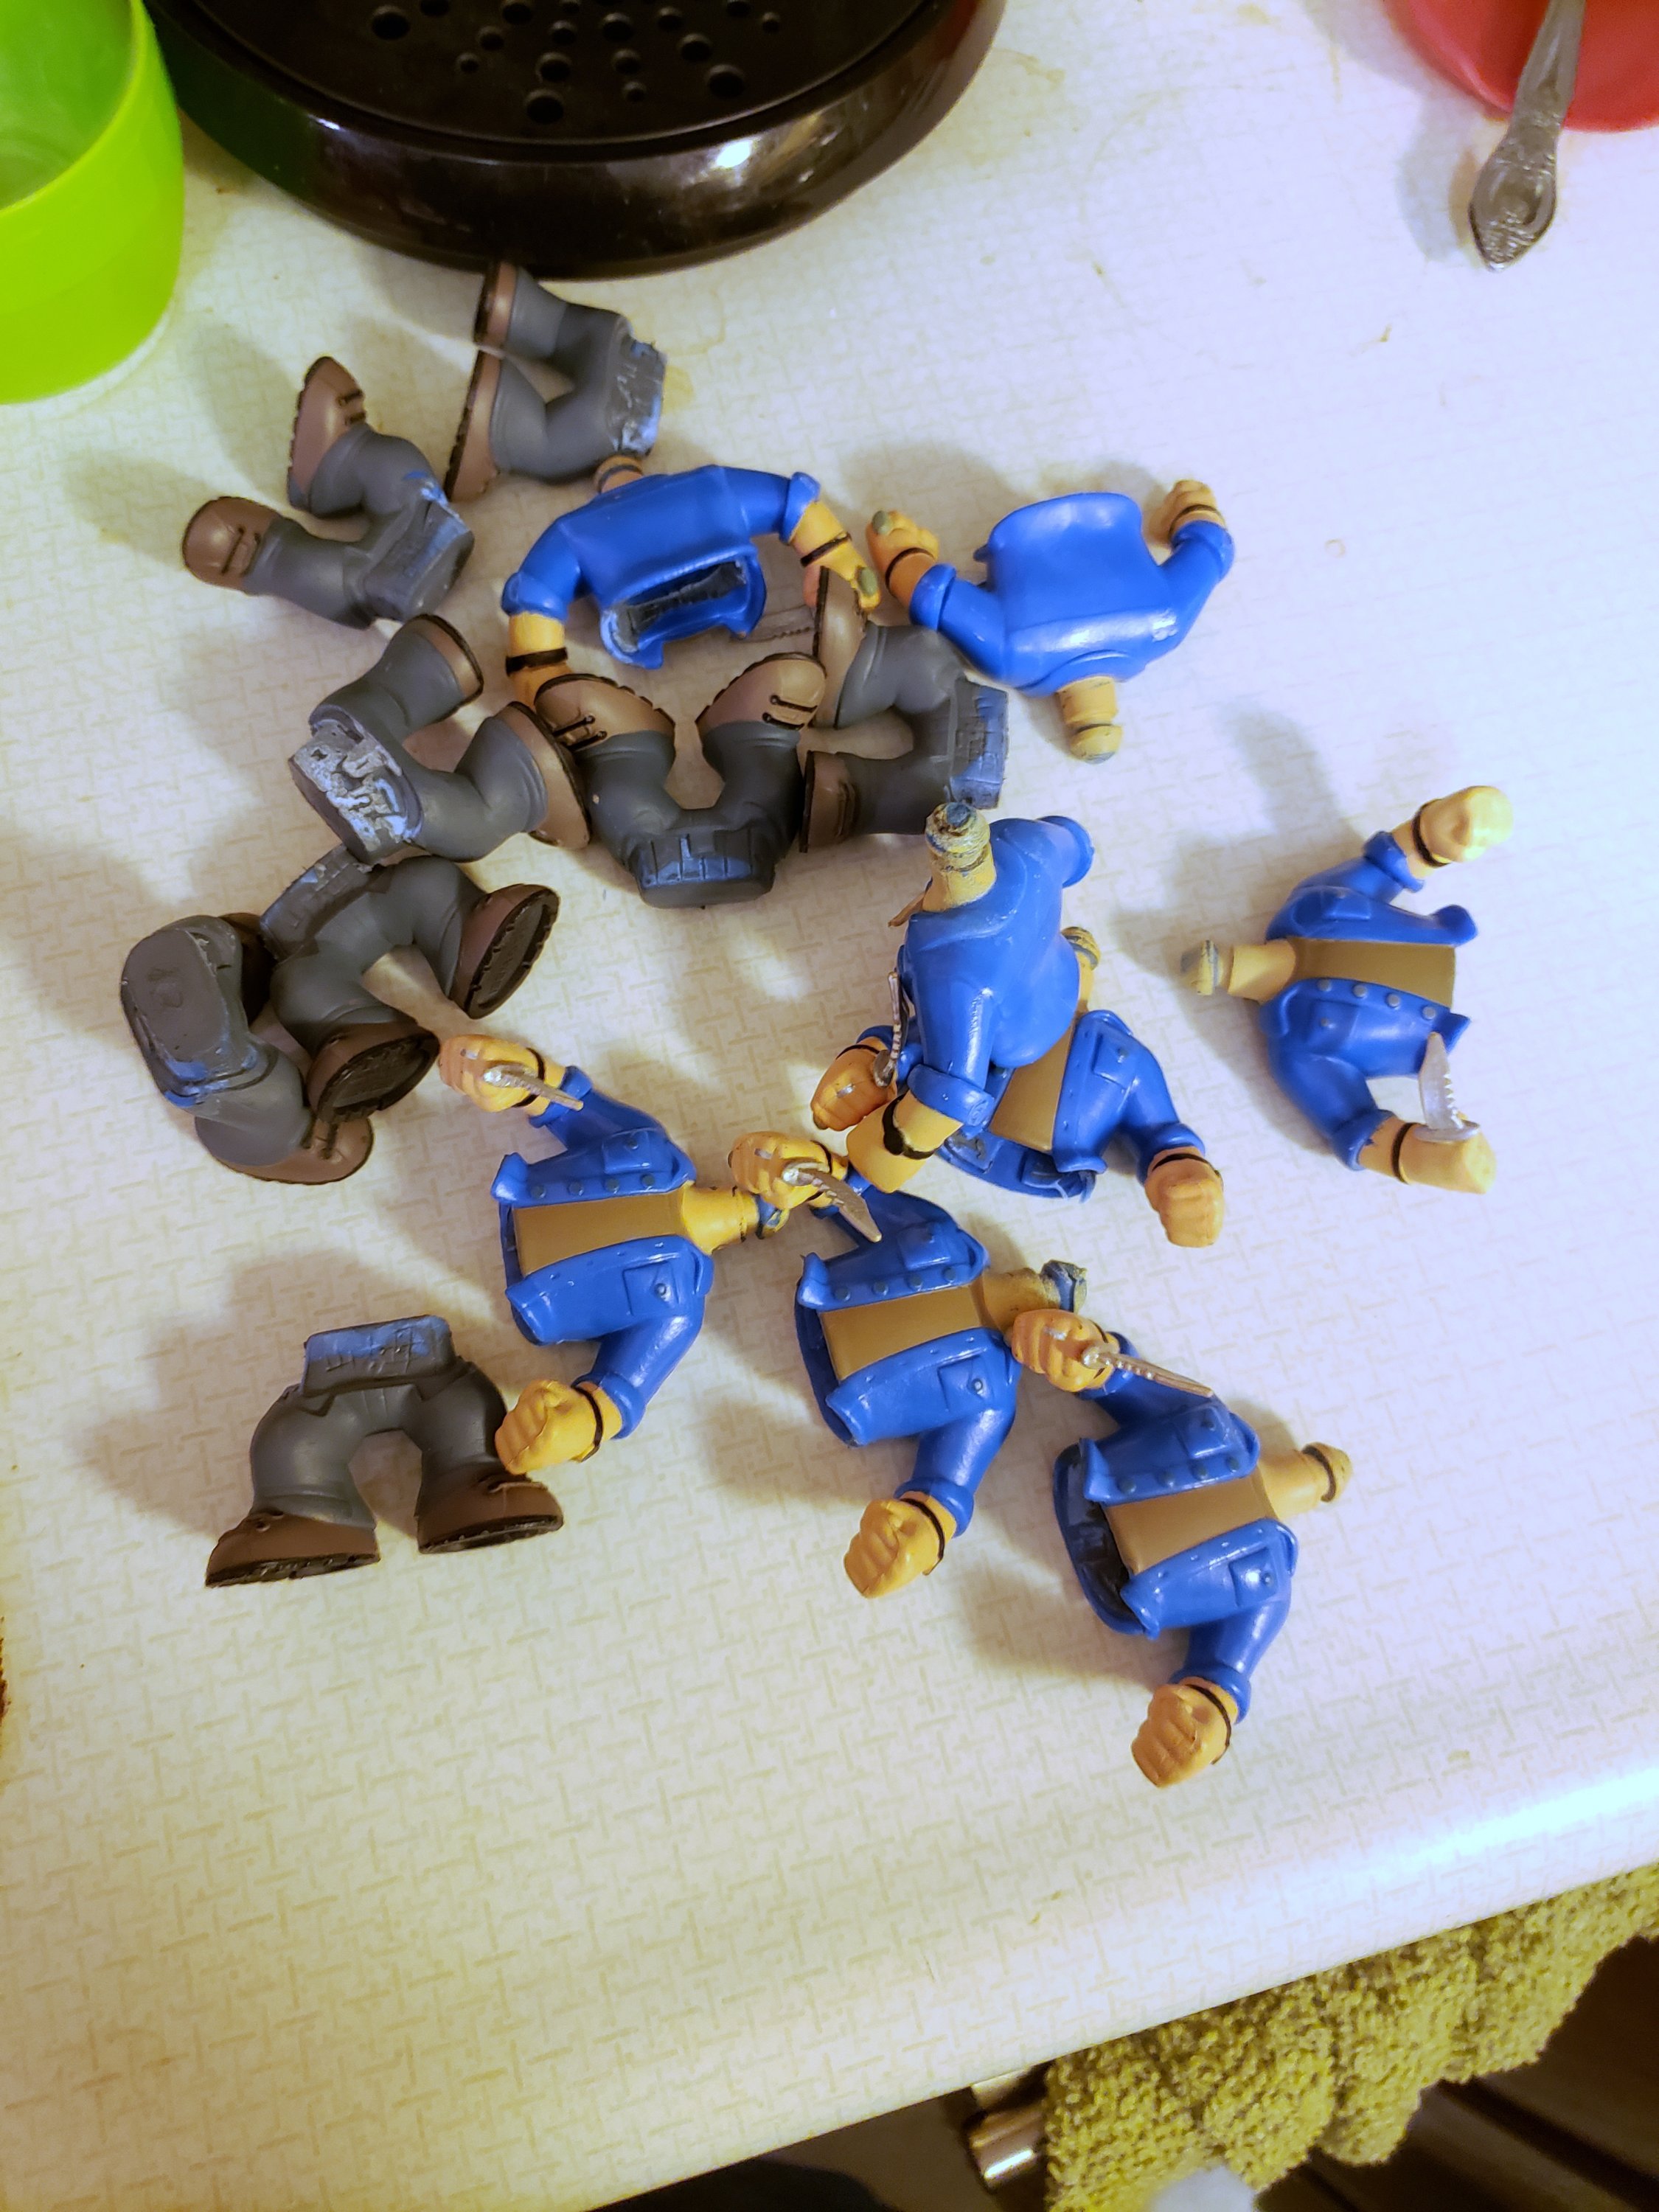
The fun part of customizing is taking everything apart (I may be lying.. it’s fun, but tiring on the hands) below, I’ll outline the steps I use to dismantle my Pop friends. There are other ways, I’m sure, but I’ll focus on the ways I’ve tried.
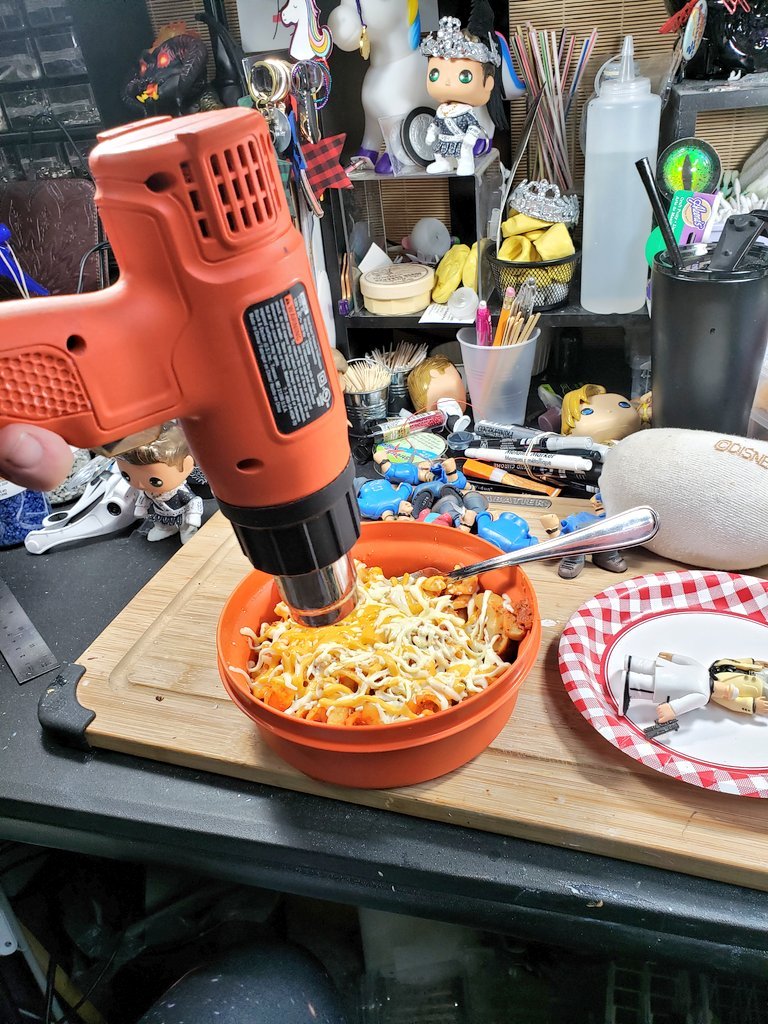
Heat Gun.
This is my preferred method, but not always the most efficient. I use it most often because it’s something I can do at the workbench and I don’t have to haul everything upstairs to the kitchen. It also lets me focus the heat in areas so I don’t soften or damage any other areas. Lets go over the pros and cons I see with it.
Pros
For me, it’s ease. The heat gun is right at the work bench. I can reach behind me and have it in hand so I can melt and maneuver as needed without breaking my stride. I can cure polymer clay, soften the glue, remove arms, legs, feet, heads and separate torsos in minutes.
Cons
If you are not very careful, you can burn your pop, bubble the paint or downright melt fingers and noses off. With practice that becomes less likely, but always a possibility, especially if I’m rushing or distracted.
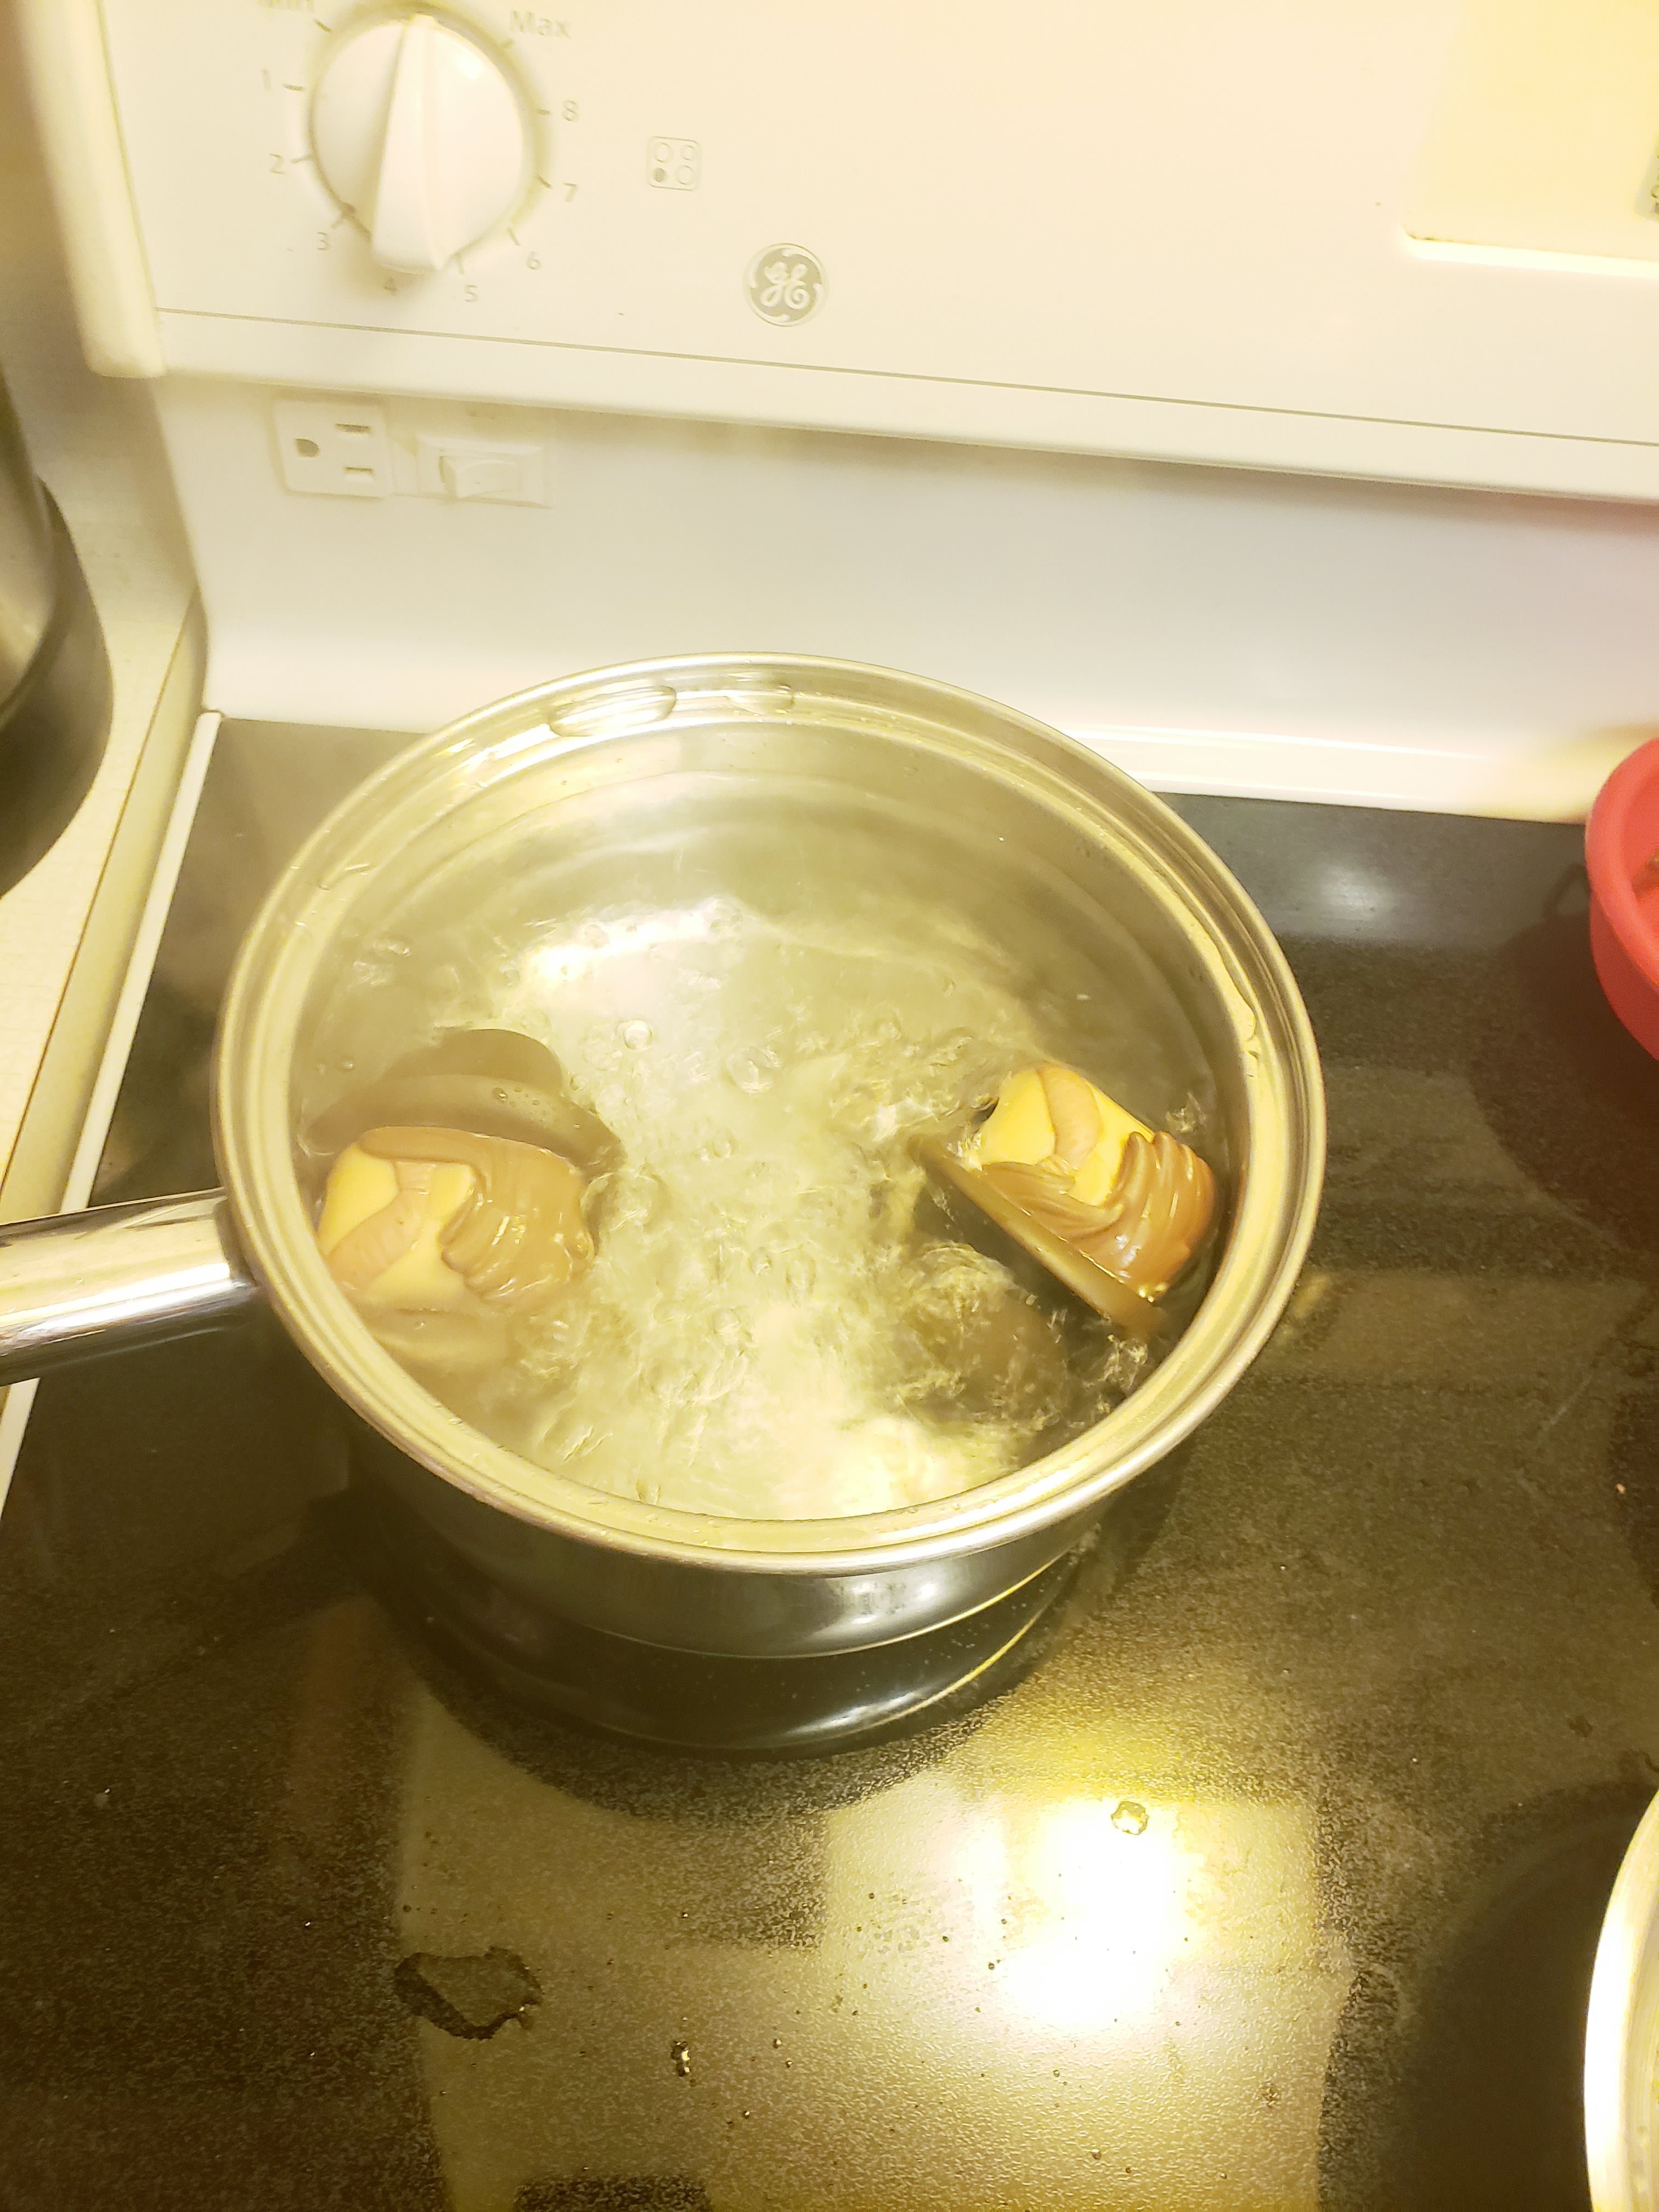
Boiling
This is the method I use when I have difficult parts, or lots of parts to separate. It also works best for separating torsos from legs as they are thicker and the boiling water works faster. I don’t use it often, but this being said, I have been looking into a hot plate for the basement so I can boil without leaving the workroom.
Pros
Very good at separating glued areas, even ones with stubborn glue. Fairly quick once you get the water boiling. Less damage to most pops.
Cons
For me, it’s ease. I have to haul my butt and pops upstairs to boil and wait for them. It’s messier as well. Plus, I have bad patience, so generally burn my fingers trying to separate parts that are too hot (I acknowledge my foible here!)
Cutting
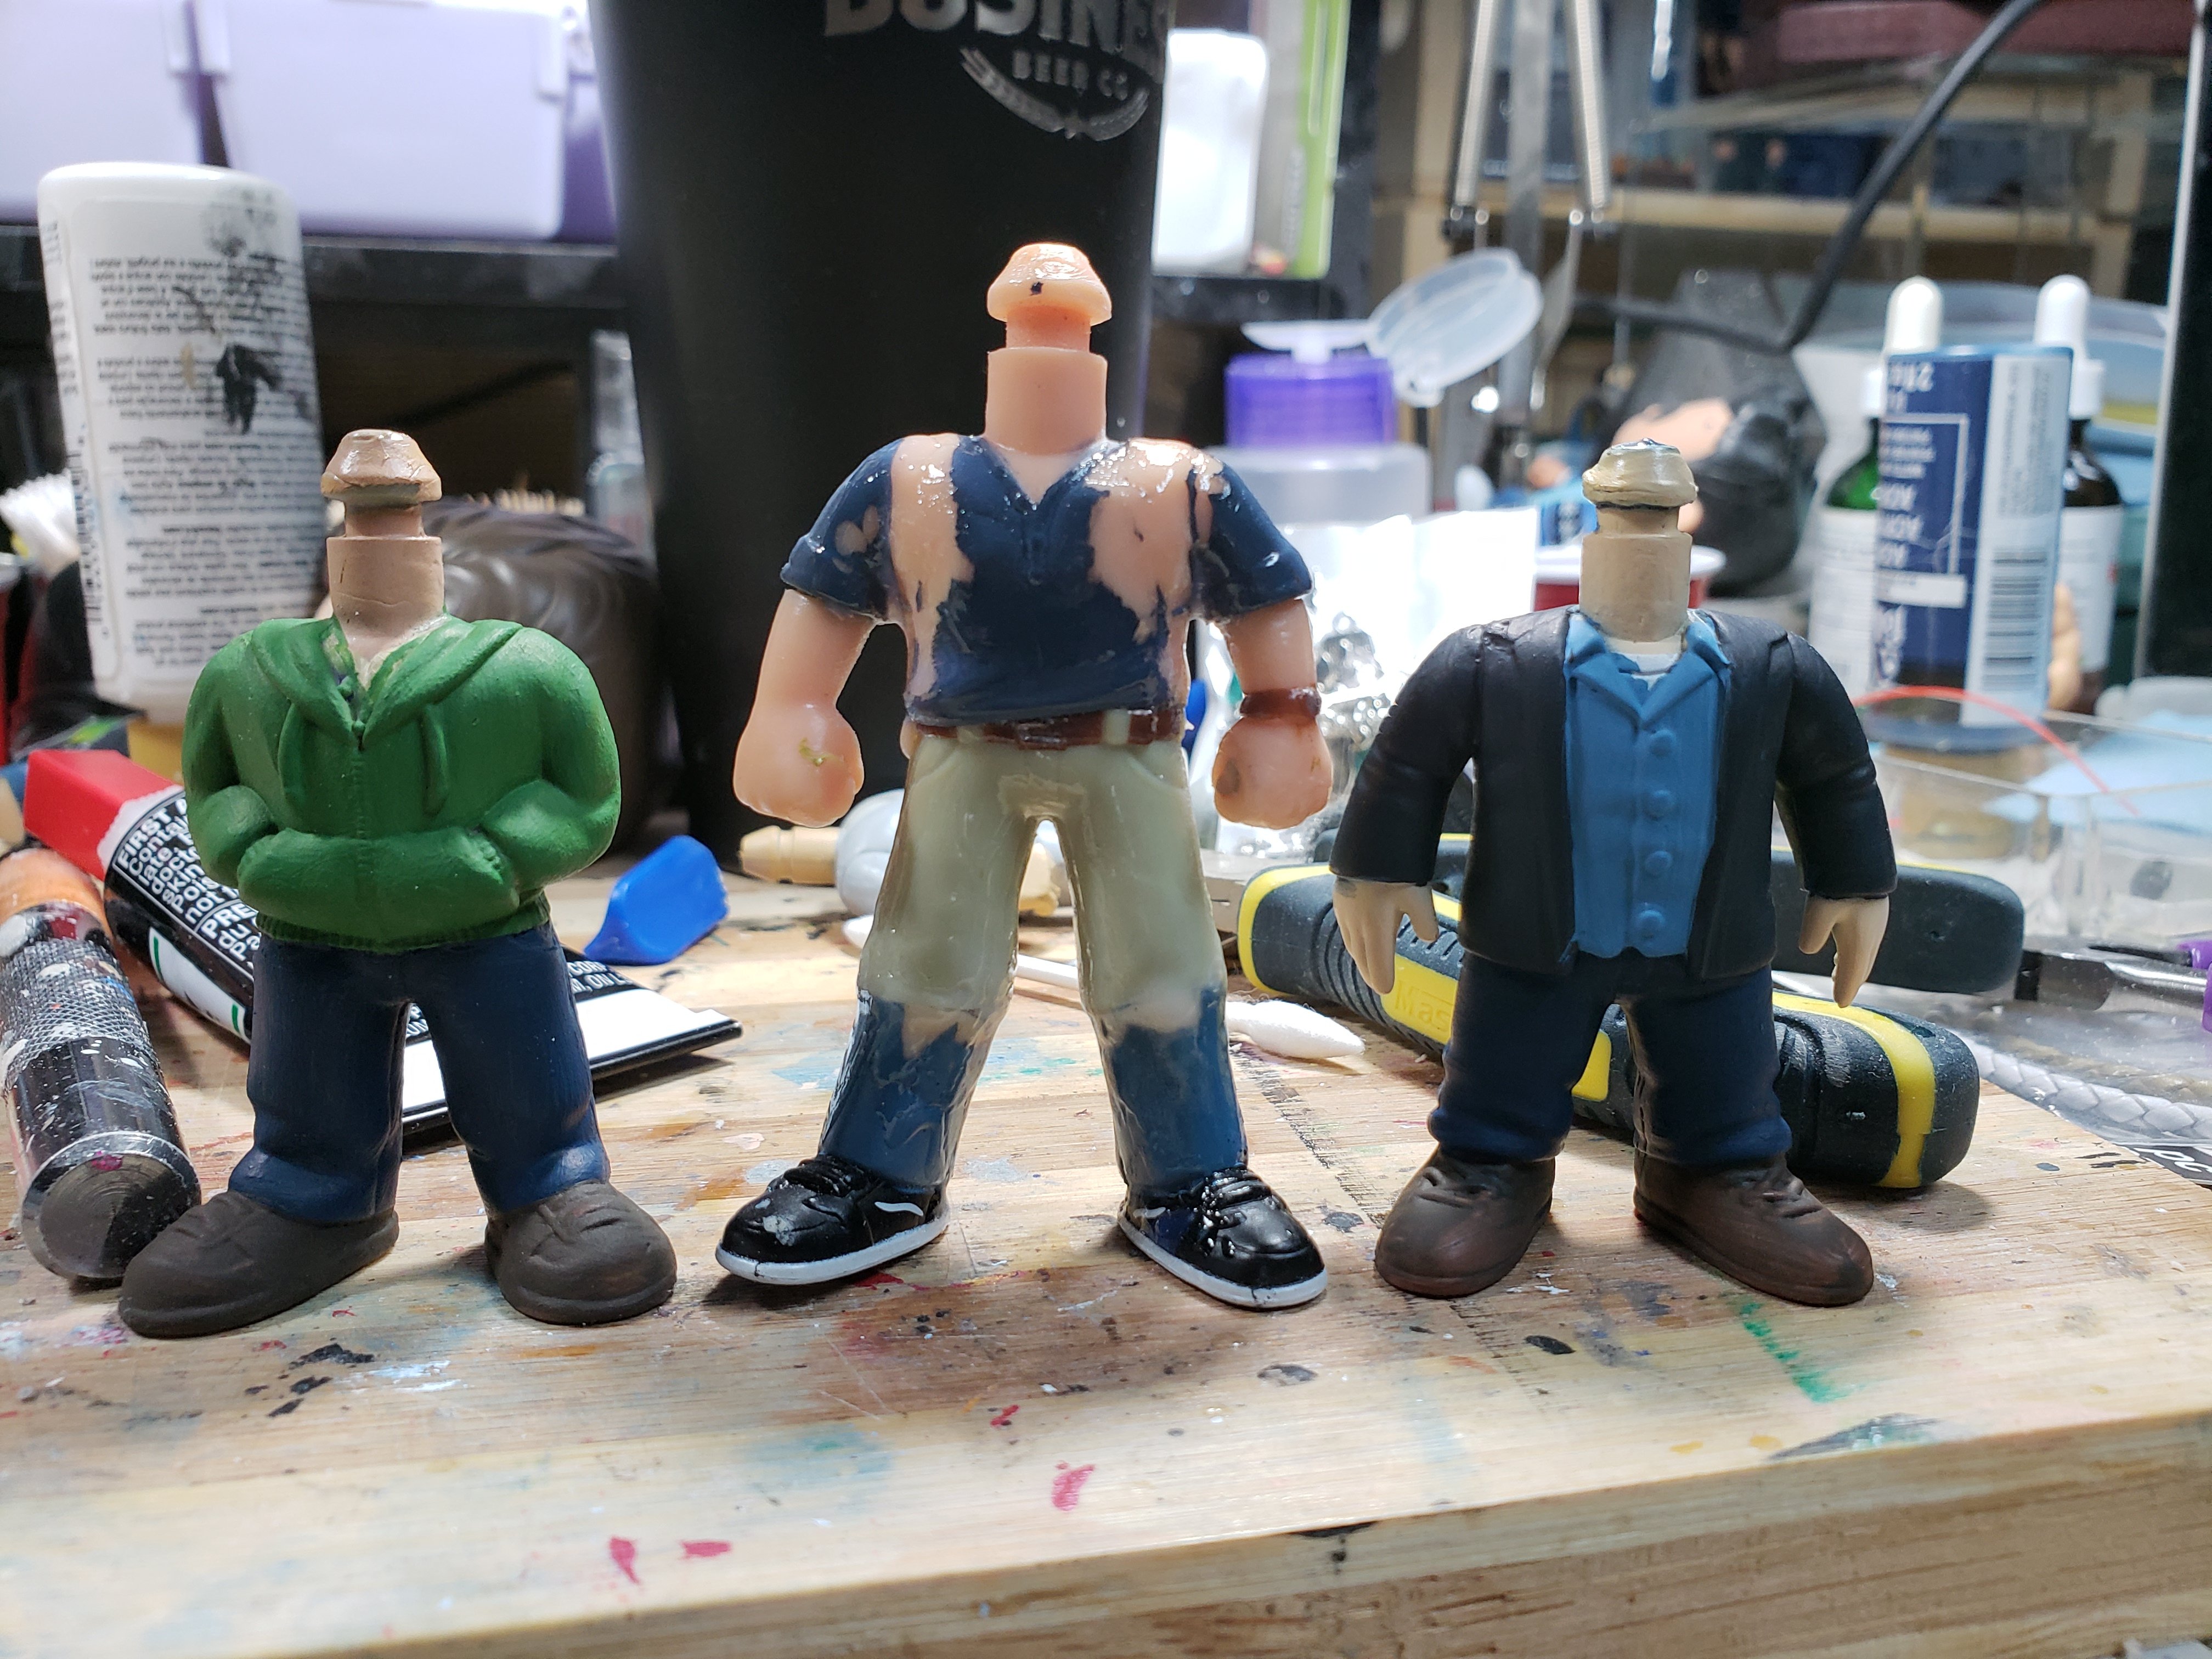
Not a method often used by me, but sometimes there are no easy seams to boil or heat to separate parts so I must take the plunge and cut them off! I use this mainly when extending legs for Pops that need to be taller than normal (Like Aaron’s Gollum) This is a finicky option but completely doable. The trick is to find parts closest in diameter to the original. I then cut them both at the same angle, drill a hole in the centre of both for a piece of wire to strengthen the bond. Then put the glue coated wire in, put them together and secure until dry. Use some clay/resin to cover the break and blend them together. I’ve also done this for arms and torso’s when needed, but to be honest, it’s rare. I’m lucky to have a stock of pops enough to usually get what I need without this method.
I’m sure there are other methods that are used, but these are the three most common for me. Hopefully this takes away some of the fear for anyone wanting to try their own pop but not sure where to start. Feel free to comment with any questions you have, or any processes you’d like to see!

Leave a comment